10 Easy Ideas for Pressed Flower Bookmarks in Under 30 Minutes
Transform your favorite blooms into timeless treasures. Learn how to make pressed flower bookmarks with these 10 simple, aesthetic DIY ideas.
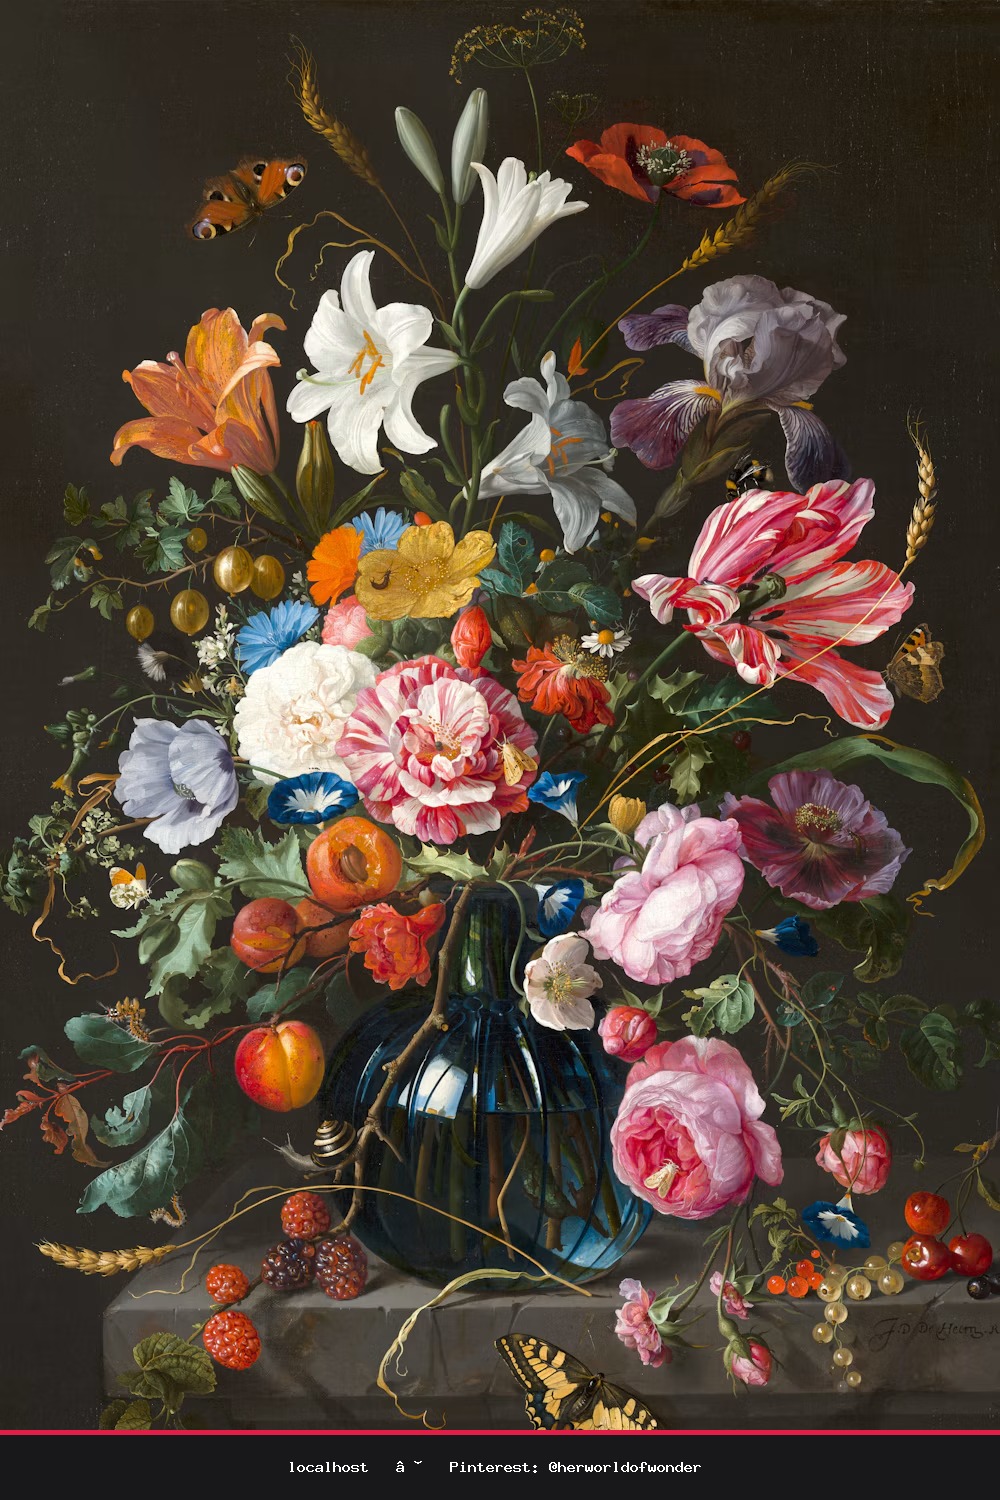
Embrace the Art of Slow Living with Pressed Flowers
There is something inherently soul-soothing about preserving the beauty of nature. In our fast-paced world, learning how to make pressed flower bookmarks is a gentle invitation to slow down, breathe, and create something tangible. Whether you have picked wildflowers from a morning walk or saved a meaningful bouquet, these bookmarks serve as beautiful, aesthetic reminders of the seasons passing by. Best of all, you can craft these in under 30 minutes, making them the perfect mindful activity for a quiet afternoon.
What You Will Need
- A collection of thin, flat flowers or greenery (pansies, ferns, and baby’s breath work beautifully)
- Heavy books for pressing
- Acid-free cardstock or watercolor paper
- Clear contact paper or self-adhesive laminating sheets
- A hole punch and silk ribbon or twine
- Scissors and a craft glue stick
10 Aesthetic Ideas for Your Bookmarks
- The Minimalist Fern: Place a single, delicate fern leaf vertically on a strip of cream-colored cardstock for an elegant, botanical look.
- Wildflower Collage: Arrange a variety of small blossoms in a cluster at the bottom of the bookmark for a whimsical garden effect.
- Monochrome Magic: Use only flowers of one color—like soft pinks or deep purples—against a white background for a sophisticated finish.
- The Pressed Pansy Portrait: Center one large, vibrant pansy on the bookmark and frame it with a thin hand-drawn gold border.
- Lace and Petals: Glue a small strip of vintage lace at the base of your bookmark before layering your pressed flowers on top.
- Stamped Sentiments: Add a tiny, hand-stamped word like 'breathe' or 'bloom' near the top of your floral arrangement.
- Watercolor Wash: Before adding flowers, paint a light, watery wash of color on your cardstock to create a dreamy, ethereal backdrop.
- Pressed Herb Sprigs: Use dried lavender or rosemary for a bookmark that looks classic and smells faintly of a cottage garden.
- Double-Sided Transparency: Use two pieces of clear laminating film to sandwich your flowers, allowing them to be viewed from both sides.
- The Bookmark Trio: Create three thin bookmarks with individual flower types and tie them together with a rustic twine bundle.
Step-by-Step: How to Make Pressed Flower Bookmarks
If you are in a rush, you can 'quick-press' your flowers by placing them between two sheets of parchment paper inside a very heavy book and hitting them with a low-heat iron (no steam!) for a few seconds. Once your botanicals are flat, the assembly is where the magic happens. Cut your cardstock into 2-inch by 6-inch strips. Gently arrange your flowers using a tiny dab of glue to keep them in place. To ensure they last, cover the front with a piece of clear self-adhesive film, smoothing out any bubbles with a credit card. Finally, punch a hole at the top and thread through a piece of velvet or silk ribbon.
Styling Your Reading Nook
These bookmarks aren't just functional; they are pieces of art. Place your completed bookmarks inside your favorite hardback novels or display them in a small ceramic jar on your nightstand. Pair them with a warm cup of herbal tea and a cozy blanket to create the ultimate 'Her Little World' reading experience. Remember, the beauty of this craft lies in the imperfections—nature is never perfectly symmetrical, and your bookmarks don't need to be either. Enjoy the process of creating, and let these little floral companions guide you through your next favorite story.
10 Dreamy DIY Pressed Flower Bookmarks 🌸✨
Learn how to make pressed flower bookmarks with these 10 aesthetic and easy DIY ideas. Perfect for a cozy afternoon of crafting and slow living. #pressedflowers #diybookmarks #aestheticcrafts #bookstagram #slowliving