Beginner Guide to Making Pressed Flower Bookmarks in 30 Minutes
Capture the fleeting beauty of nature with this simple craft. Learn how to make pressed flower bookmarks for a touch of elegance in your daily reading.
Bringing Nature Into Your Daily Reading
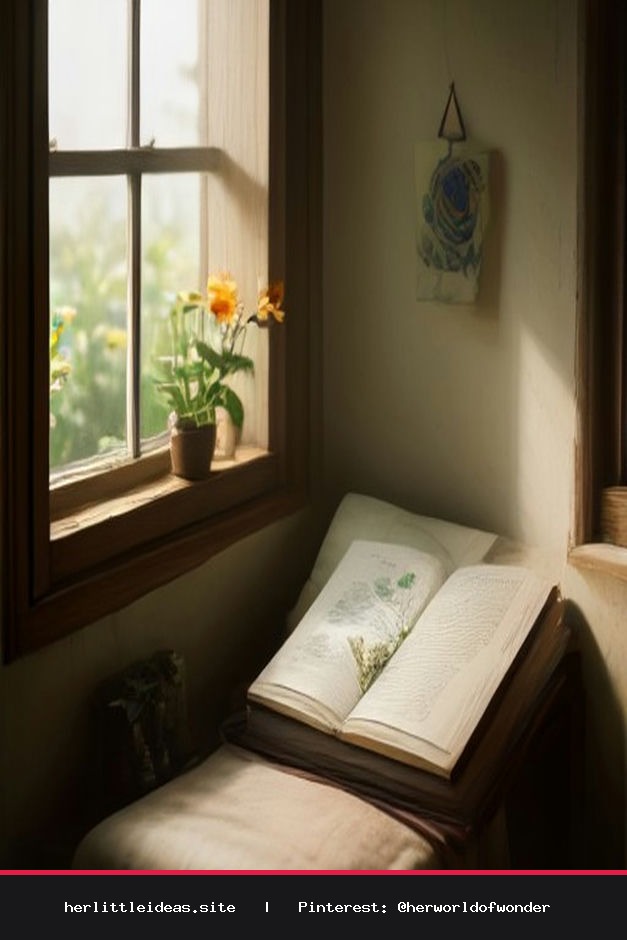
There is something inherently soul-soothing about the intersection of literature and nature. As we navigate our busy lives, taking a quiet moment to press a bloom and preserve its memory can feel like a meditative practice. Learning how to make pressed flower bookmarks is not just a craft; it is a way to slow down, practice mindfulness, and infuse your favorite novels with a touch of botanical elegance.
This beginner-friendly project requires minimal supplies and can be completed in under 30 minutes, making it the perfect creative outlet for a rainy afternoon or a slow Sunday morning. Whether you are creating a thoughtful gift for a friend or a little treat for your own bookshelf, these bookmarks are as functional as they are beautiful.
Gathering Your Botanical Treasures
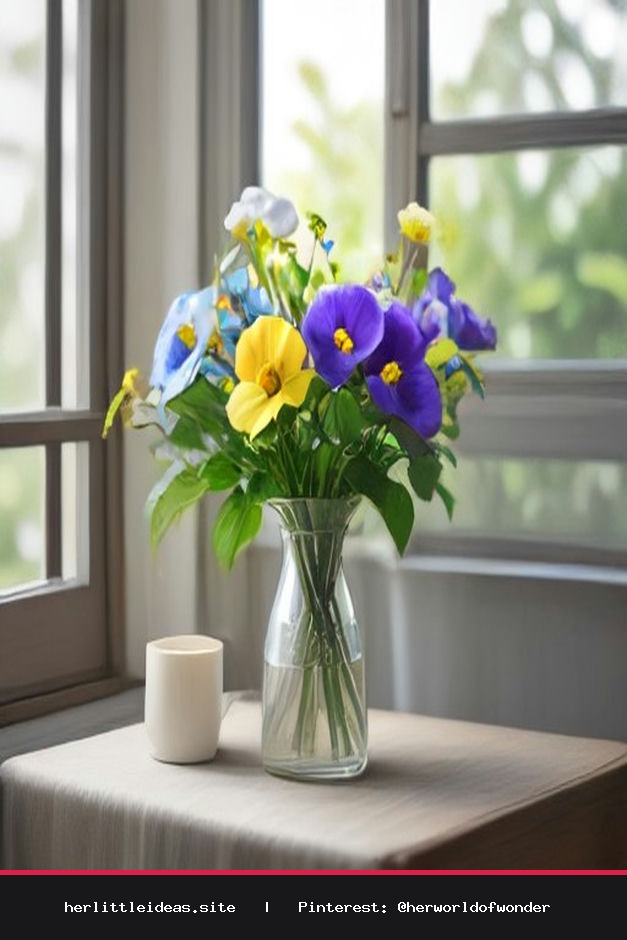
Before you begin, take a gentle walk through your garden or a local park. Look for flowers with naturally flat petals, such as pansies, violas, daisies, or delicate fern leaves. Thicker flowers like roses or lilies are beautiful but require much longer to dry, so for a quick 30-minute project, focus on flatter varieties.
- Freshly picked flowers: Choose specimens that are free of dew or moisture.
- Heavy books: Use thick, hardback books you already have on your shelf.
- Acid-free paper: Parchment paper or coffee filters work perfectly.
- Clear adhesive contact paper: This is the secret to protecting your delicate blooms.
- Cardstock: Choose a neutral tone like cream or kraft paper for a timeless aesthetic.
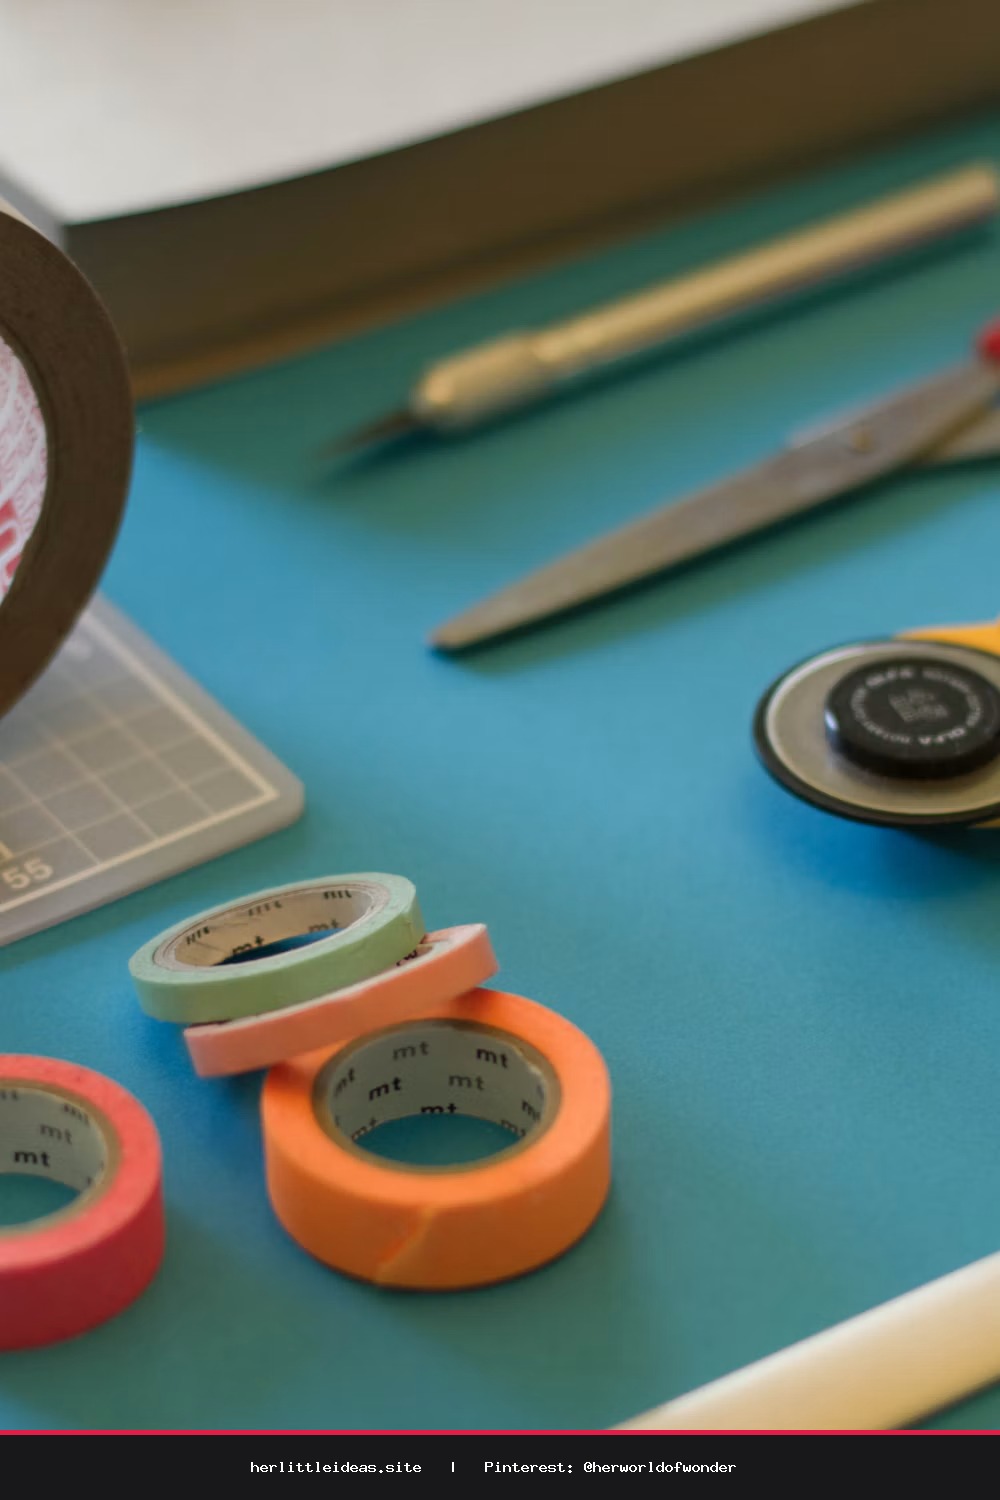
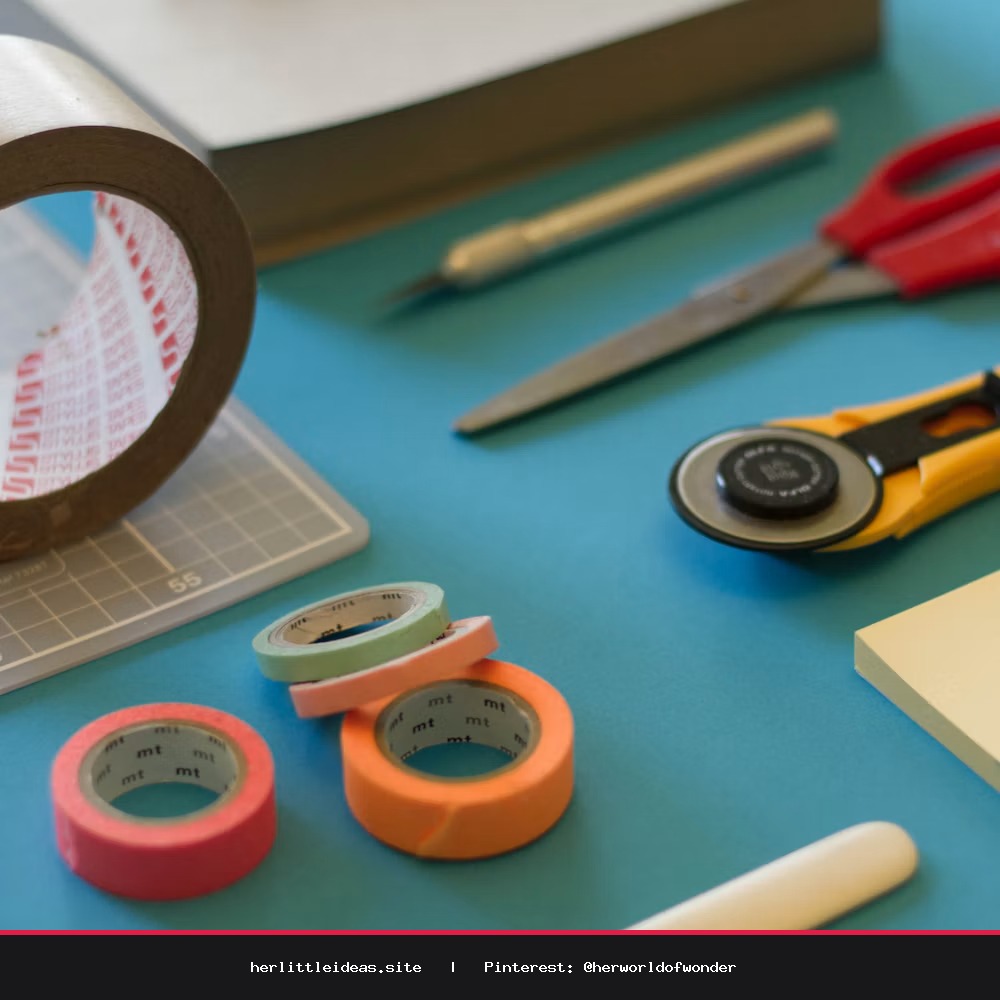
- Scissors and a hole punch: For finishing touches.
- Ribbon or twine: To add a cozy, tactile element.
Step-by-Step: How to Make Pressed Flower Bookmarks
If you have flowers that are already pressed, you can assemble these in minutes. If you are starting from scratch, remember that the 'pressing' phase takes a few days, but the assembly is the part that sparks joy in under half an hour.
- Pressing the Blooms: Place your flowers between two sheets of parchment paper. Insert them into the center of a heavy book. Close it firmly and place another heavy object on top. Allow them to dry for at least 3-5 days for best results.
- Prepare Your Base: Cut your cardstock into a bookmark shape, typically 2 inches by 6 inches. You can round the corners for a softer look.
- Arrange Your Design: Carefully lift your dried flowers using tweezers. Arrange them on the cardstock in an aesthetic, organic pattern. Less is often more—let the natural beauty of the petal speak for itself.
- Seal with Contact Paper: Cut a piece of clear adhesive contact paper slightly larger than your bookmark. Peel the backing and gently place it over your flowers, smoothing out any air bubbles from the center outward.
- Trim and Finish: Cut the excess contact paper away, leaving a small border. Punch a hole at the top and loop through a piece of velvet ribbon or rustic twine.
Styling Your Creative Space
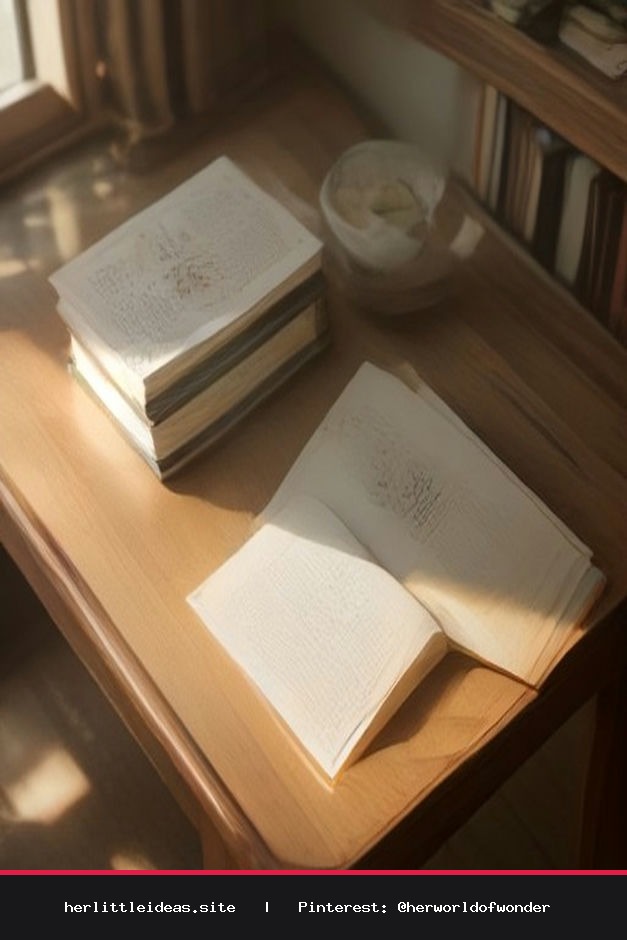
Once you have finished your bookmarks, display them alongside your current 'to-be-read' pile. They look particularly lovely tucked into a journal or resting on a wooden side table next to a steaming cup of herbal tea. The goal is to surround yourself with small, intentional objects that make you feel grounded and inspired.
Remember, the beauty of this craft lies in its imperfection. If a petal tears or a leaf isn't perfectly symmetrical, embrace it as part of the story. Your bookmarks are unique works of art, mirroring the authenticity you bring to your own life every day. Happy crafting, and may your pages always be filled with beauty.
Easy DIY: Pressed Flower Bookmarks in 30 Minutes! 🌸
Learn how to make pressed flower bookmarks with this simple, aesthetic DIY guide. Perfect for book lovers and slow living enthusiasts! #DIYCrafts #PressedFlowers #Bookish #SlowLiving #HerLittleWorld