How to Make Pressed Flower Bookmarks: A Beautiful DIY Guide
Learn how to make pressed flower bookmarks that look professional and elegant. This simple guide brings nature's beauty into your cozy reading nook.
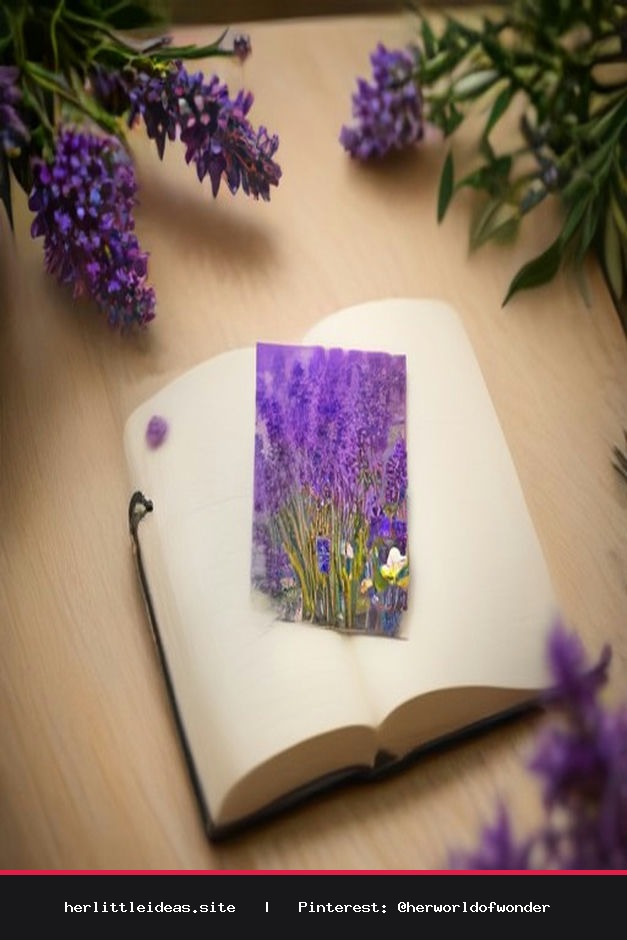
Embrace the Art of Slow Living
There is something inherently soul-soothing about pressing a flower. It is a quiet act of preservation, a way to capture a fleeting season and keep it tucked between the pages of your favorite book. If you have been looking for a creative project that feels like a gentle exhale, learning how to make pressed flower bookmarks is the perfect place to start. These handcrafted treasures carry the charm of a boutique find but hold the authentic warmth of your own hands.
What You Will Need
Before you begin, gather your materials. Using high-quality supplies ensures your bookmarks look polished and last for years to come.
- Fresh flowers and foliage: Pansies, ferns, baby's breath, and lavender work beautifully.
- Heavy books: For the pressing process.
- Cardstock or watercolor paper: Choose a neutral, heavy-weight paper for an aesthetic base.
- Clear adhesive laminate or self-adhesive laminating sheets: This is the secret to a 'store-bought' finish.
- A hole punch and ribbon: For that final elegant touch.
- Scissors or a craft knife and ruler.
Step 1: Pressing Your Florals to Perfection
The secret to professional-looking bookmarks lies in the preparation. Place your chosen blooms face down on a piece of parchment paper inside a heavy book. Ensure they are laying completely flat. Add another layer of parchment on top and close the book tightly. Patience is your greatest tool here; allow them to dry for at least 7 to 10 days. The flatter the flower, the easier it will be to laminate later.
Step 2: Designing Your Bookmark
Once your flowers are thin and crisp, it is time to arrange them. Cut your cardstock into a standard bookmark size, roughly 2 x 6 inches. Play with the layout—perhaps a minimalist fern sprig or a whimsical cluster of wildflowers. Once you are happy with the composition, use a tiny dot of glue or simply let the static from the laminating sheet hold them in place.
Step 3: Achieving the Professional Finish
To give your creation that high-end, store-bought sheen, use self-adhesive laminating sheets. Peel the backing carefully and place your cardstock design face down onto the sticky side. Smooth it out with a credit card to remove any air bubbles. Fold the laminate over or apply a second sheet to the back. Trim the edges with a sharp craft knife to ensure a clean, crisp border. Leave a small margin of laminate around the edge to prevent the paper from peeling over time.
A Moment for Self-Care
As you work, treat this time as a ritual. Put on a soft acoustic playlist, brew a cup of herbal tea, and let your mind wander. Crafting is not just about the final product; it is about the quiet joy found in the process. When you finally slip your finished bookmark into a novel, you are not just marking a page—you are marking a memory of a peaceful afternoon spent in your own little world.
Styling Your Creation
To elevate the look further, punch a hole at the top and thread a piece of velvet ribbon or natural twine through it. These bookmarks make thoughtful, heartfelt gifts for the book lovers in your life. Place one inside a gifted book, and you have created a bespoke present that feels deeply personal and thoughtfully curated. Happy crafting, dear friend.
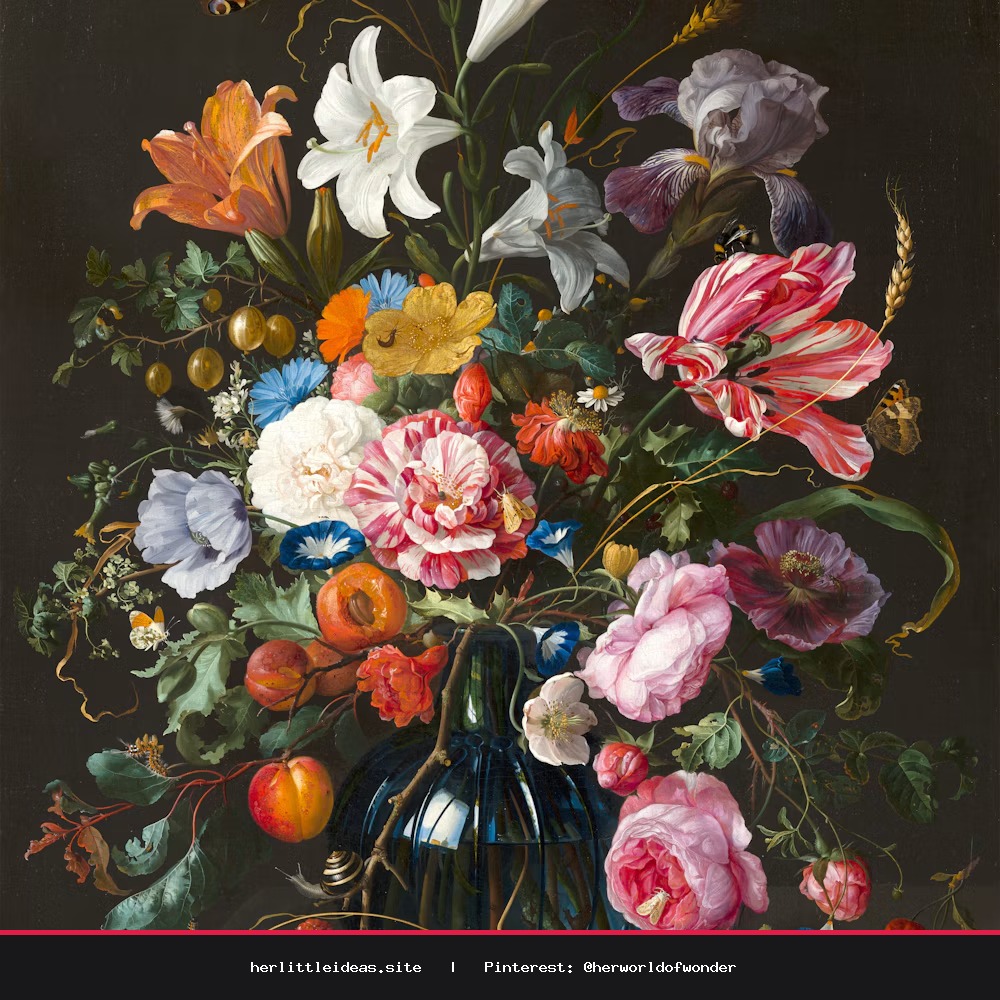
DIY Pressed Flower Bookmarks: Easy Aesthetic Tutorial 🌸
Create stunning, store-bought quality pressed flower bookmarks with this simple DIY guide. Perfect for book lovers and nature enthusiasts. #DIYCrafts #PressedFlowers #Bookish #SlowLiving #Stationery