How to Make Pressed Flower Bookmarks: A Wholesome DIY Guide
Discover how to make pressed flower bookmarks with this simple, soul-soothing guide. Create timeless botanical keepsakes for your favorite cozy reads.

The Art of Preserving Nature
There is something profoundly grounding about pausing to appreciate the delicate geometry of a petal or the intricate veins of a leaf. In our fast-paced digital world, the practice of pressing flowers is a gentle invitation to slow down, breathe, and reconnect with the seasonal rhythms of the earth. Learning how to make pressed flower bookmarks is more than just a craft; it is a way to tuck a piece of nature’s fleeting beauty into the pages of your favorite novel, ensuring that every chapter you read is accompanied by a touch of botanical grace.
What You Will Need
Gathering your materials is the first step in this meditative process. You don't need expensive equipment to get started; most of what you need can be found in your home or garden.
- Fresh wildflowers or garden blooms: Pansies, violas, ferns, and baby’s breath press beautifully.
- Heavy books: Thick hardcovers like encyclopedias or old textbooks work best.
- Parchment paper or absorbent cardstock: To protect your book pages.
- Clear adhesive laminate sheets or contact paper: For sealing your design.
- Decorative ribbon or twine: To add a whimsical finishing touch.
- Scissors and a hole punch: Precision tools for your final assembly.
Step-by-Step: Pressing Your Blooms
The secret to a beautiful bookmark lies in the preparation of your flora. Begin by selecting flowers that are freshly picked and free of morning dew. Place your flowers face-down on a sheet of parchment paper, ensuring they lay flat without overlapping petals. Sandwich this paper between the pages of a heavy book. If you have multiple flowers, space them out well. Let them rest in a cool, dry place for at least two weeks. Patience is key here—rushing the drying process can lead to browning or mold.
Assembling Your Botanical Keepsake
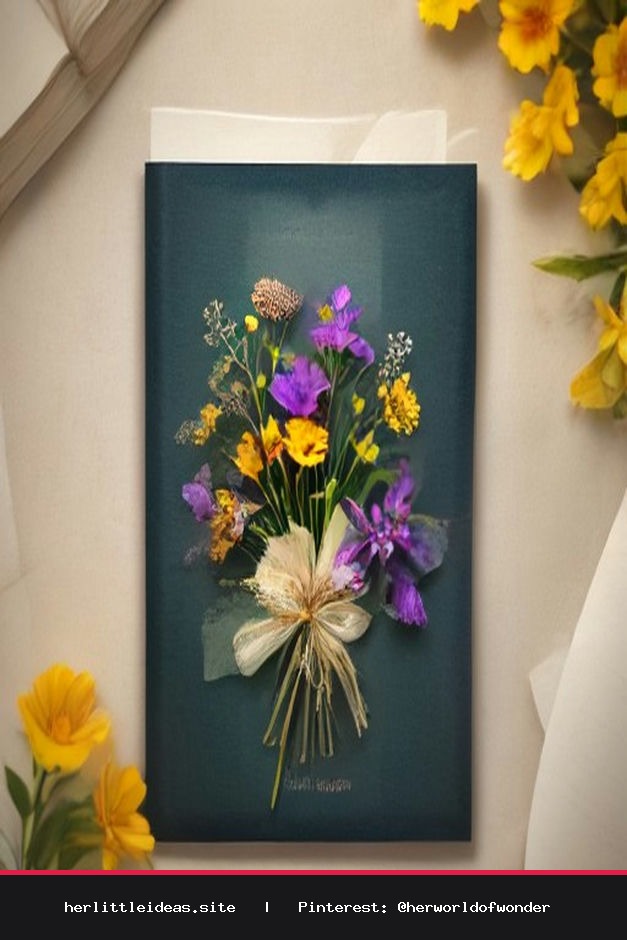
Once your flowers are paper-thin and completely dry, it is time to assemble your bookmark. This is where your creative vision comes to life.
- Design Your Layout: Cut your base cardstock into a standard bookmark size (approximately 2x6 inches). Arrange your pressed flowers on the cardstock, playing with negative space and organic flow.
- Seal the Design: Carefully peel the backing off your adhesive laminate. Place your decorated cardstock face-down onto the sticky side, or carefully layer a second sheet over the top to sandwich the design. Smooth out any air bubbles with a credit card or a soft cloth.
- Trim and Punch: Trim the excess laminate, leaving a small border around the edges for a clean seal. Punch a hole at the top and thread through a piece of silk ribbon or rustic jute twine.
Styling Your Reading Nook
These bookmarks are not just functional; they are aesthetic treasures that elevate your home decor. Place a stack of books on your nightstand, each adorned with a different floral bookmark, to create a library that feels alive and curated. These also make heartfelt, handmade gifts for friends who share your love for literature and slow living. Whether you are gifting them or keeping them for your own collection, remember that each bookmark is a unique snapshot of a season, captured forever in paper.
As you work on these projects, embrace the imperfections. A slightly asymmetrical leaf or a faded petal is not a flaw—it is part of the story. By creating these bookmarks, you are practicing a form of mindfulness that celebrates the beauty of the present moment, one pressed petal at a time.
DIY Pressed Flower Bookmarks: A Wholesome Craft 🌸
Create beautiful, aesthetic pressed flower bookmarks with this easy step-by-step guide. Perfect for cozy reading and thoughtful handmade gifts. #DIYCrafts #PressedFlowers #Bookstagram #SlowLiving #StationeryLove