Aesthetic Weekend Projects: How to Make Pressed Flower Bookmarks
Transform your reading nook with these delicate DIY pressed flower bookmarks. Learn the art of preserving nature for a touch of store-bought elegance.
The Art of Slow Living: Why We Love Pressed Flowers
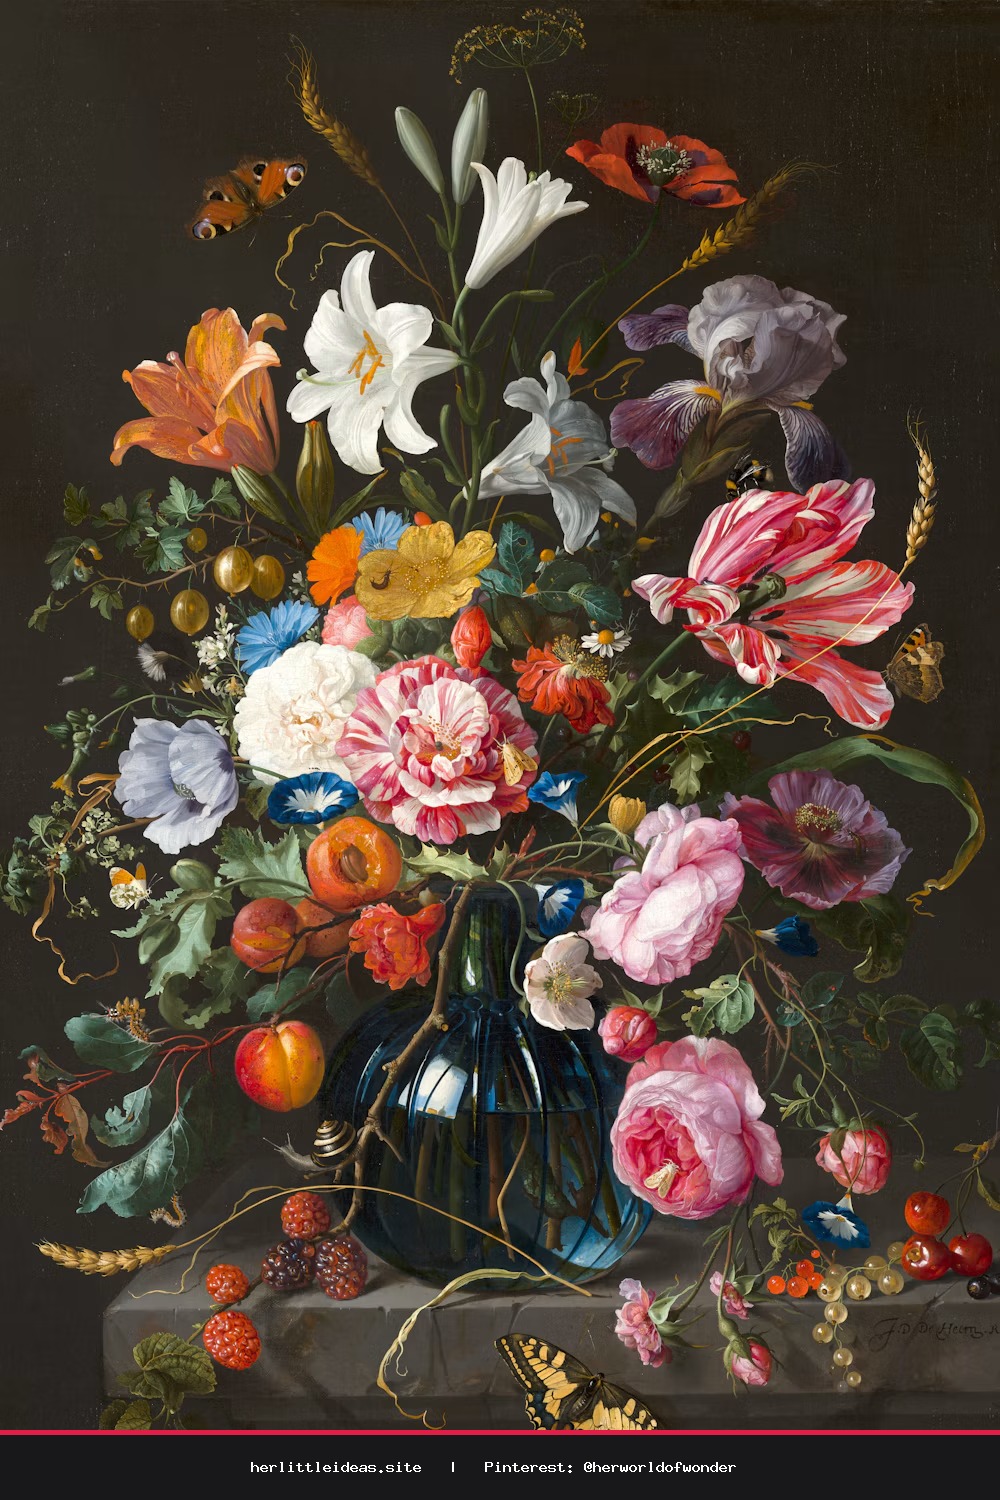
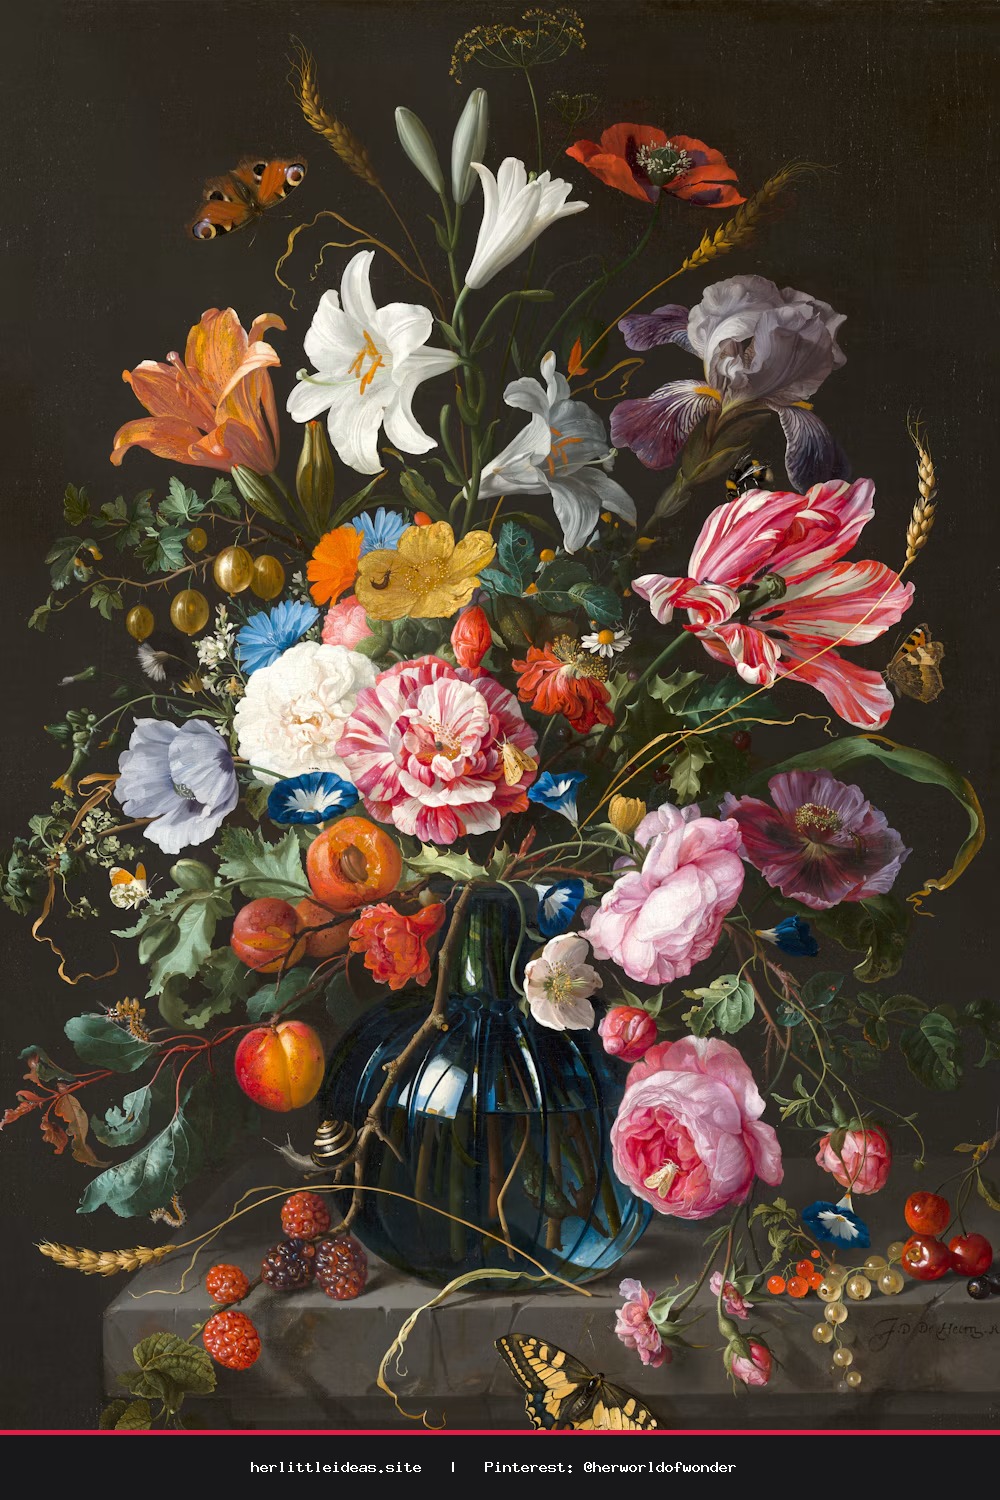
There is a quiet, rhythmic magic in pressing flowers. It is an act of preservation, a way to hold onto the fleeting beauty of a season long after the petals have fallen. For those of us who find solace in a good book and a warm cup of tea, creating custom bookmarks is the ultimate weekend ritual. Learning how to make pressed flower bookmarks is not just a craft; it is a mindful practice that invites nature into your daily reading routine.
What You Will Need
To achieve that polished, professional look, gather these high-quality supplies:
- A selection of small, flat flowers (pansies, violas, or baby's breath work best)
- Heavy-duty cardstock or watercolor paper
- Clear self-adhesive laminating sheets or archival-quality laminator pouches
- A hole punch and silk ribbon or twine
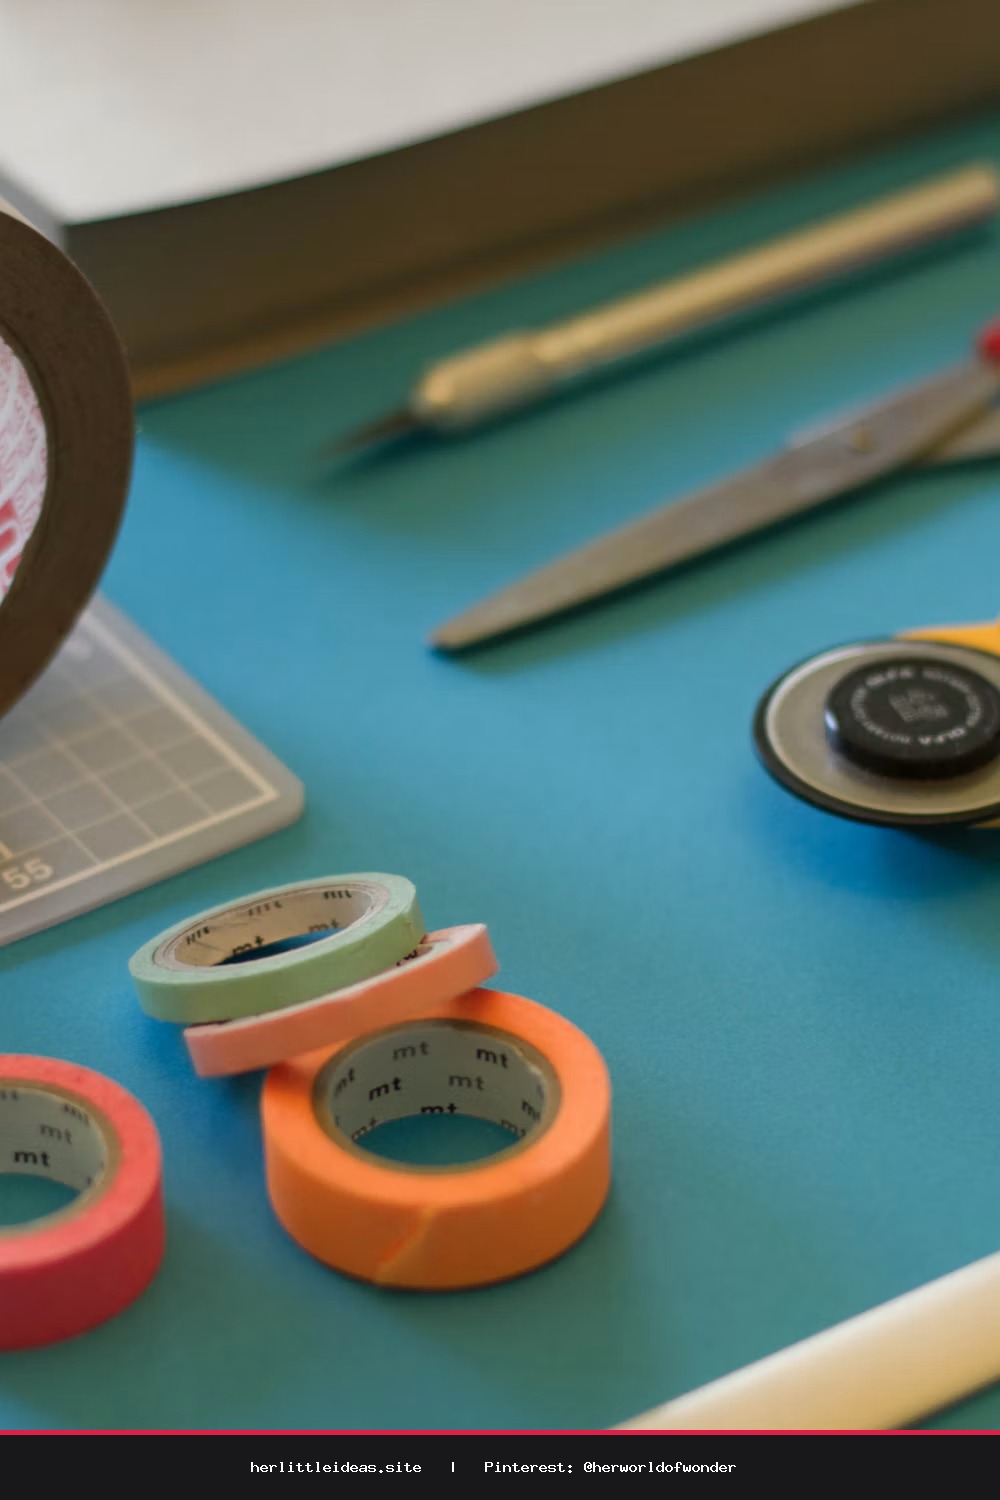
- Sharp crafting scissors
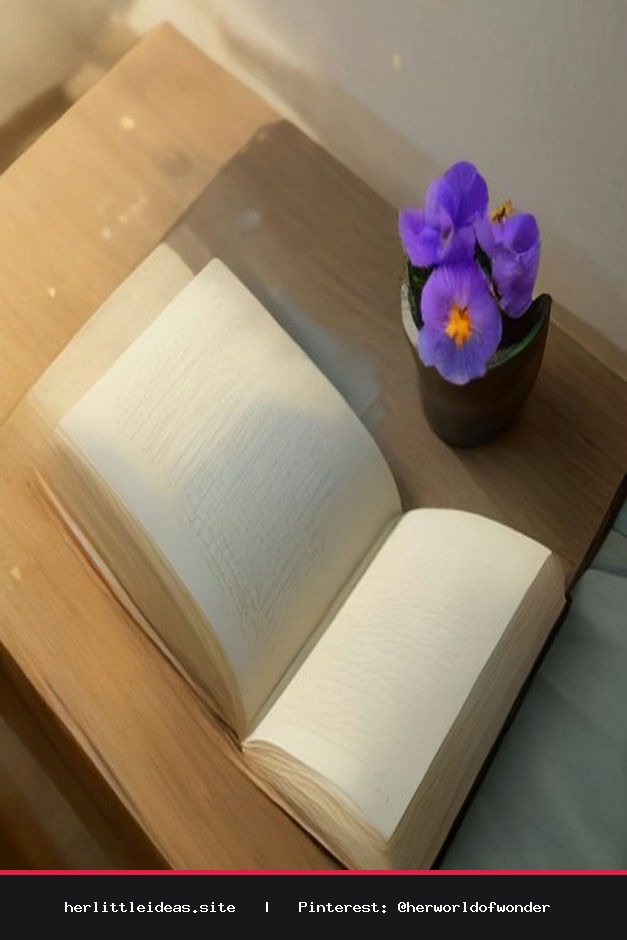
- A heavy book for the pressing process
Step 1: The Pressing Ritual
Patience is the secret ingredient. Place your flowers between two sheets of parchment paper inside a heavy book. Ensure the blooms are laying perfectly flat. Leave them for at least seven to ten days in a cool, dry place. The goal is to remove all moisture so the flowers retain their vibrant color without browning.
Step 2: Designing Your Layout
Once your flowers are brittle and dry, it is time to play. Cut your cardstock into rectangular strips—a standard 2x6 inch size is perfect for most novels. Lay your flowers out on the cardstock, experimenting with asymmetry and negative space. Think of your bookmark as a tiny canvas; leaving some paper visible creates that high-end, minimalist aesthetic found in boutique stationery shops.
Step 3: Sealing the Beauty
This is where we transition from craft to 'store-bought' quality. If using adhesive laminating sheets, peel the backing carefully and place your cardstock face-down onto the sticky side. Smooth it out with a credit card to avoid air bubbles. Trim the edges with a sharp pair of scissors, leaving a tiny 1/8-inch border of clear laminate. This border protects the edges from fraying and gives the piece a professional finish.
Step 4: The Finishing Touches
Punch a small hole at the top of your bookmark. Thread a piece of silk ribbon or rustic twine through the hole, tying it in a simple, elegant knot. The texture of the ribbon against the smooth laminate creates a beautiful tactile contrast. Your bookmark is now ready to tuck into your current read, adding a touch of floral inspiration to every page you turn.
Styling Your Reading Nook
Aesthetic projects deserve an aesthetic home. Place your finished bookmarks in a ceramic bowl on your nightstand, or keep them tucked inside your favorite hardcover books to surprise you later. These bookmarks also make heartfelt, handmade gifts for friends who share your love for literature. Remember, the beauty of this project lies in its imperfections; each flower is unique, and that is exactly what makes your creation special.
Take this weekend to slow down, disconnect from the screen, and create something tangible. Whether you are pressing wildflowers from your morning walk or dried blooms from a gifted bouquet, you are essentially bottling a memory. Happy crafting, and may your reading hours be filled with calm and inspiration.
DIY Pressed Flower Bookmarks: Aesthetic Weekend Project 🌸
Create your own stunning pressed flower bookmarks with this easy DIY tutorial. Perfect for book lovers and nature enthusiasts! #DIYBookmarks #PressedFlowers #AestheticCrafts #ReadingNook #SlowLiving