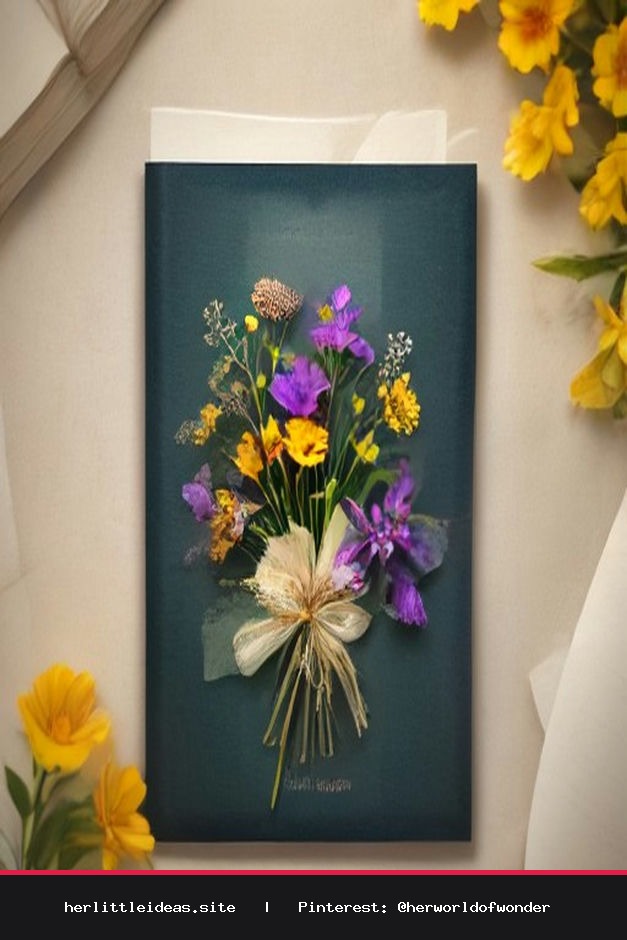
How to Make Pressed Flower Bookmarks: A Beautiful DIY Guide
Capture the fleeting beauty of nature with this step-by-step guide on how to make pressed flower bookmarks, perfect for thoughtful, personalized gifts.
Embracing the Art of Slow Living
There is something inherently soul-soothing about the process of preserving nature. In our fast-paced digital world, taking a quiet afternoon to gather blooms and create something tangible feels like a gentle act of self-care. Learning how to make pressed flower bookmarks is more than just a craft; it is a way to freeze a moment in time, creating a keepsake that carries the essence of the seasons into your favorite books.
What You Will Need
Before you begin, gather your supplies. Keep your workspace tidy and aesthetic—perhaps play some soft acoustic music or light a beeswax candle to set the mood.
- Fresh blooms and greenery: Choose flowers with flat faces, such as pansies, violas, or daisies.
- Heavy books: Old encyclopedias or thick hardcovers work best for pressing.
- Parchment paper or wax paper: To protect your book pages.
- Cardstock or heavy watercolor paper: For the base of your bookmark.
- Clear adhesive vinyl or a laminator: To seal and protect your pressed flowers.
- Decorative ribbon or twine: For that final, elegant touch.
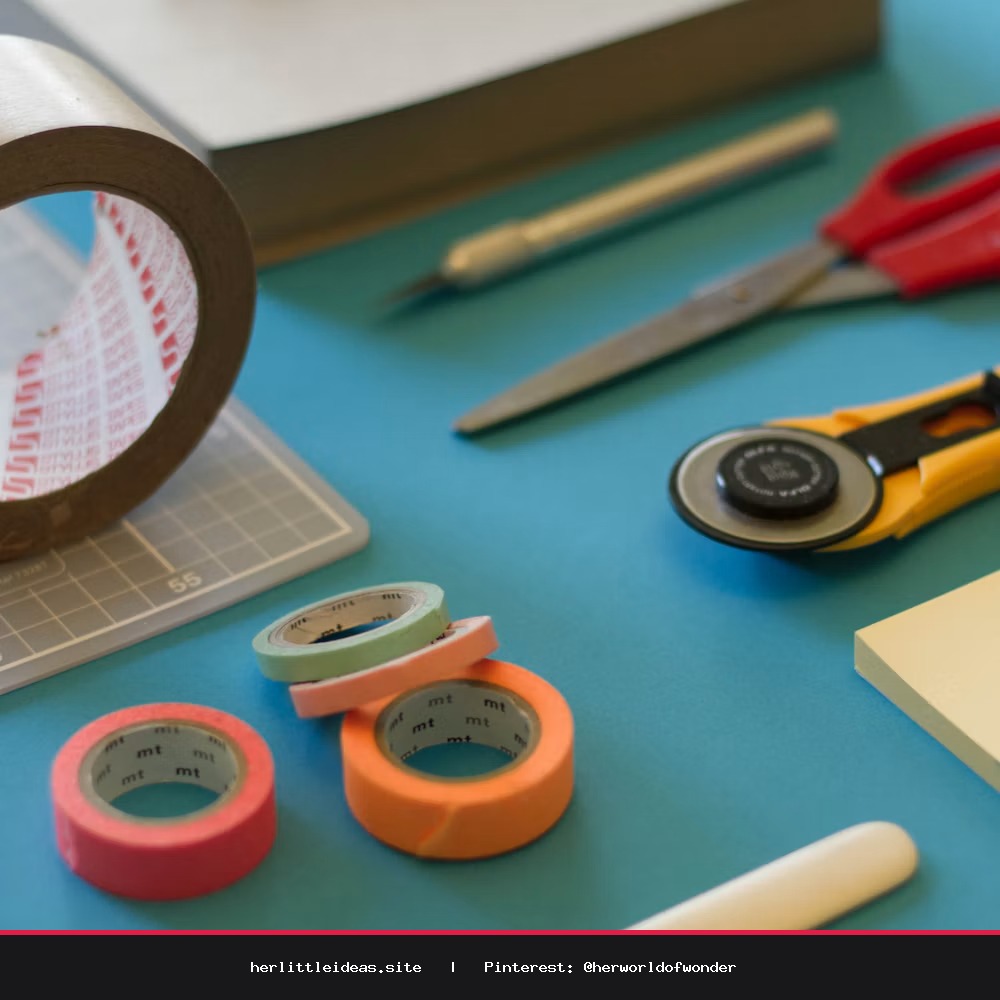
- Scissors and a hole punch.
Step 1: The Art of Pressing Flowers
Select flowers that are fresh and free of dew. Open your heavy book and place a sheet of parchment paper down. Lay your flowers face down, ensuring petals are flat and not overlapping. Place another sheet of parchment over them, then close the book gently. Let them rest in a cool, dry place for at least one to two weeks. Patience is key here—the slower they dry, the better they retain their vibrant colors.
Step 2: Designing Your Bookmark
Once your flowers are paper-thin and dry, it is time to assemble. Cut your cardstock into your desired bookmark shape—a classic 2x6 inch rectangle is timeless. Arrange your pressed flowers on the cardstock, playing with composition. You might prefer a minimalist look with a single fern leaf, or an abundant meadow aesthetic with multiple blossoms. Once you are satisfied, use a tiny dab of glue or simply the adhesive from your vinyl to secure them.
Step 3: Sealing and Finishing
To ensure your bookmark lasts through many chapters, cover the front with clear adhesive vinyl. Smooth it out carefully with a credit card to remove any air bubbles. Trim the edges for a clean finish. Punch a hole at the top and thread through a piece of silk ribbon, linen twine, or even a dried blade of grass for a rustic, organic look.
Styling Your Creation
These bookmarks are not just functional; they are pieces of art. When gifting them, pair your bookmark with a favorite secondhand book or a handwritten note. Place them on a nightstand styled with a cup of herbal tea and a cozy throw blanket to evoke that 'Her Little World' aesthetic. Whether you are gifting them to a dear friend or keeping them for your own reading nook, these bookmarks serve as a gentle reminder to slow down, breathe, and appreciate the small, blooming wonders of the world.
Easy DIY: How to Make Pressed Flower Bookmarks 🌸
Learn how to make pressed flower bookmarks! The perfect aesthetic DIY project for book lovers and thoughtful, handmade gifts. #pressedflowers #diybookmarks #slowliving #bookstagram #craftideas