How to Make Pressed Flower Bookmarks: A Beginner's Guide
Preserve nature's quiet beauty with this simple craft. Learn how to press blooms and create keepsake bookmarks that bring calm to your reading nook.
There is a quiet, meditative magic in gathering blossoms from a morning stroll and turning them into something tangible and lasting. If you have ever tucked a petal between the pages of an antique novel, you already understand the gentle nostalgia of botanical art. Learning how to make pressed flower bookmarks is one of the most accessible and grounding DIY projects you can undertake. Whether you are crafting a thoughtful homemade gift or adding warmth to your own reading rituals, this beginner-friendly guide walks you through every step with ease and intention.
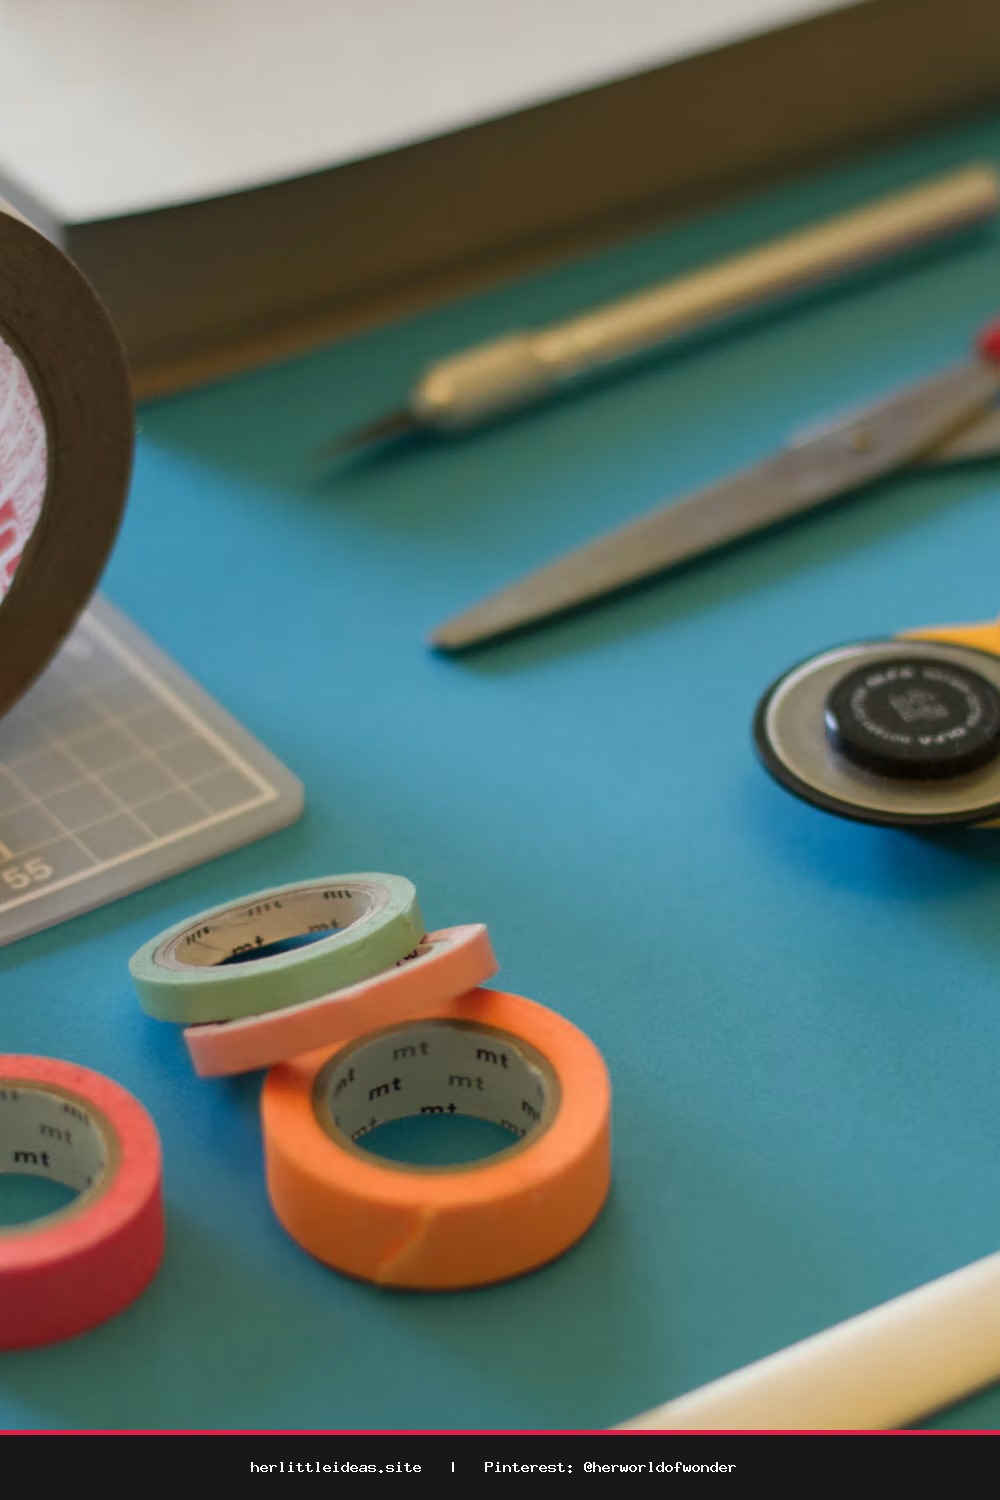
Gathering Your Botanical Craft Supplies
Before you begin, assemble your tools in a quiet, sunlit workspace. Working with dried botanicals invites a slow rhythm, so take your time setting the scene with a warm cup of herbal tea.
- Pressed flowers and foliage: Thin-petaled varieties such as pansies, viola, baby's breath, sweet alyssum, and miniature fern fronds work best.
- Base material: Heavyweight watercolor paper, deckled-edge cotton cardstock, or clear laminating pouches.
- Tweezers: Fine-point craft tweezers to lift and position fragile petals without tearing them.
- Adhesive: Clear craft glue or mod podge, applied sparingly with a tiny paintbrush or toothpick.
- Sealing medium: Self-adhesive clear contact paper, a home thermal laminator, or clear cold-seal sheets.
- Finishing accents: A single-hole punch and raw-edge silk ribbon, linen twine, or vintage embroidery thread.
How to Press Your Flowers with Care
The secret to vibrant bookmarks lies in properly dried botanicals. Thick blossoms retain moisture and may brown, while delicate petals dry flat and preserve their soft hues beautifully.
To press flowers at home without fancy equipment, line the pages of a heavy hardcover book with untextured parchment paper. Lay your freshly harvested, completely dry flowers face down, leaving generous space between each stem. Gently close the book and weigh it down with two or three additional volumes. Let them rest in a warm, dry closet for two to three weeks until the petals feel papery and brittle.
Step-by-Step: Assembling Your Keepsake Bookmark
Once your blooms are pressed and crisp, it is time to compose your miniature garden scene. Follow these simple steps to assemble a durable and elegant bookmark.
- Cut your foundation: Cut your cardstock into a classic bookmark size—roughly 2 inches wide by 6 to 7 inches long. Soften the corners with a corner rounder if you prefer a modern, tactile feel.
- Plan your layout: Use tweezers to gently audition your floral arrangement before applying any glue. Try a cascading meadow design, a minimalist single-stem specimen look, or an organic scatter of loose petals and leafy stems.
- Secure the botanicals: Dip the tip of a toothpick into a tiny drop of craft glue and dab minuscule amounts onto the back of your flowers. You only need enough to keep them from sliding while sealing; do not soak the petals.
- Seal and protect: Place your design inside a laminating pouch or between two layers of clear self-adhesive film. Smooth down slowly from the center outward using a bone folder or credit card to prevent air bubbles. Run the piece through a thermal laminator on low heat, or press firmly if using cold film.
- Trim and finish: Trim around your bookmark, leaving a slim 1/8-inch border of clear laminate to keep the edges completely water-sealed. Punch a small hole at the top center and loop through a length of frayed silk ribbon or neutral linen twine.
Technique Variations for Every Skill Level
Depending on your comfort level and materials on hand, you can tailor this botanical craft to match your creative aesthetic:
- The Complete Beginner: Use transparent peel-and-stick contact paper over natural kraft cardstock. It requires zero machines and yields an effortless, earthy finish.
- The Modern Minimalist: Skip the cardstock entirely. Arrange floating dried stems directly between two sheets of clear thermal laminate for a glass-like 'floating petal' effect that looks lovely resting against book pages.
- The Heirloom Artisan: Use thick, handmade rag paper with deckled edges. Apply your flowers directly to the surface and seal only the blossoms using a light coat of matte botanical sealant, preserving the natural woven texture of the paper.
Infusing Mindful Rituals into Your Crafting
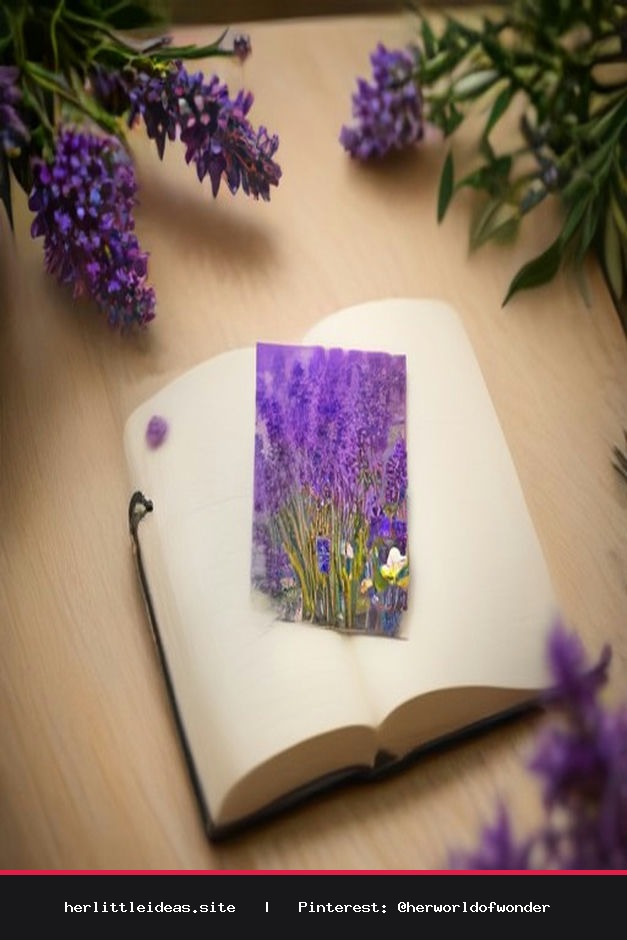
Crafting pressed flower bookmarks is more than just a creative weekend activity; it is an invitation to slow down and honor seasonal transitions. Consider gathering blooms from meaningful occasions—a friend's wedding bouquet, blossoms from your balcony garden, or wild clover from a restorative walk in the woods. Paired with a beloved classic novel or a linen journal, these handmade bookmarks make deeply personal, eco-conscious gifts that carry the enduring calm of nature wherever they go.
How to Make Pressed Flower Bookmarks 🌸 Easy DIY Keepsakes
Slow down and create something beautiful. Learn how to make pressed flower bookmarks using dried garden petals and cardstock. Perfect thoughtful gift! #pressedflowers #diycrafts #botanicalcrafts #bookish