How to Make Pressed Flower Bookmarks: A Simple Botanical Guide
Bring the beauty of nature into your reading nook with this beginner-friendly guide on how to make pressed flower bookmarks for a cozy, aesthetic touch.
Embracing the Art of Botanical Preservation
There is something inherently soul-soothing about the slow, intentional process of preserving nature. In our fast-paced world, learning how to make pressed flower bookmarks offers a gentle invitation to pause, breathe, and create something beautiful from the garden. Whether you are an avid reader or simply looking for a mindful afternoon project, these botanical bookmarks serve as a delicate reminder of the changing seasons and the simple joys found in everyday life.
What You Will Need
To begin your botanical journey, gather these simple, accessible supplies:
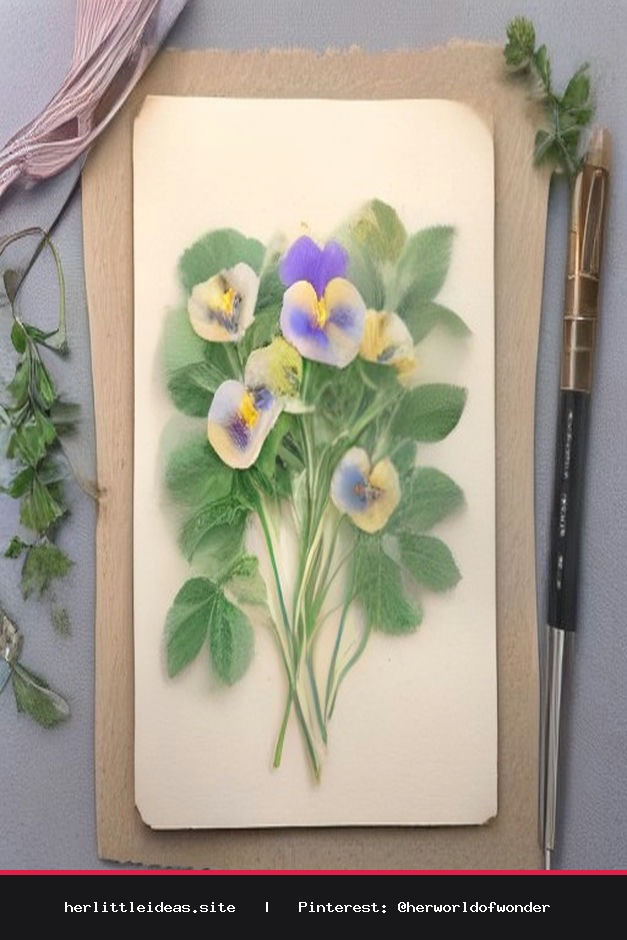
- Fresh flowers and foliage: Look for flat-faced blooms like pansies, daisies, or ferns.
- Heavy books: Thick encyclopedias or vintage hardcovers work best.
- Parchment paper or absorbent paper: To protect your book pages.
- Cardstock or heavy watercolor paper: For the base of your bookmark.
- Clear adhesive laminate or clear packing tape: To seal and protect your design.
- A hole punch and ribbon or twine: For that perfect finishing detail.
Step 1: Selecting and Pressing Your Botanicals
The secret to a beautiful bookmark lies in the quality of your pressed flowers. Choose blooms that are relatively flat to ensure they dry evenly. Gently place your flowers between two sheets of parchment paper, then tuck them into the center of a heavy book. Allow them to rest undisturbed for at least 7 to 10 days. Remember, the art of pressing is a lesson in patience—give your flowers the time they need to lose their moisture completely.
Step 2: Designing Your Bookmark
Once your flowers are thin, crisp, and paper-dry, it is time to compose your design. Cut your cardstock into a standard bookmark shape (usually 2x6 inches). Arrange your pressed botanicals on the paper, playing with negative space and natural movement. Perhaps a single delicate fern leaf or a small cluster of wildflower petals feels most authentic to your style. Once you are satisfied with the arrangement, use a tiny dot of craft glue to secure each piece in place.
Step 3: Sealing for Longevity
To ensure your bookmark lasts through many chapters, you must seal it. Carefully apply a strip of clear adhesive laminate or wide clear tape over the front of the bookmark. Smooth it out gently with a credit card or your fingers to avoid air bubbles. Trim any excess laminate, leaving a small border if you prefer a framed look. Finally, punch a hole at the top and thread a piece of silk ribbon, rustic twine, or a piece of lace through the opening.
Infusing Your Home with Botanical Charm
These bookmarks are not just functional reading tools; they are pieces of art that elevate your cozy home decor. When not in use, display them in a small ceramic jar on your nightstand or tuck them into your favorite journal. Creating these pieces is an act of self-care—a way to ground yourself in the present moment while honoring the fleeting beauty of the natural world. As you turn the pages of your next novel, let your handmade bookmark be a soft reminder that beauty is often found in the quietest, most patient places.
As you continue your creative practice, remember that no two bookmarks will ever be the same. Embrace the imperfections and the unique story each flower tells. Happy crafting, and may your reading hours be filled with peace and inspiration.
DIY Pressed Flower Bookmarks: A Simple Botanical Guide 🌸
Learn how to make pressed flower bookmarks with this beginner-friendly tutorial! Perfect for cozy reading, thoughtful gifts, and botanical home decor. #pressedflowers #diybookmarks #cozyreading #botanicalart #herworldofwonder