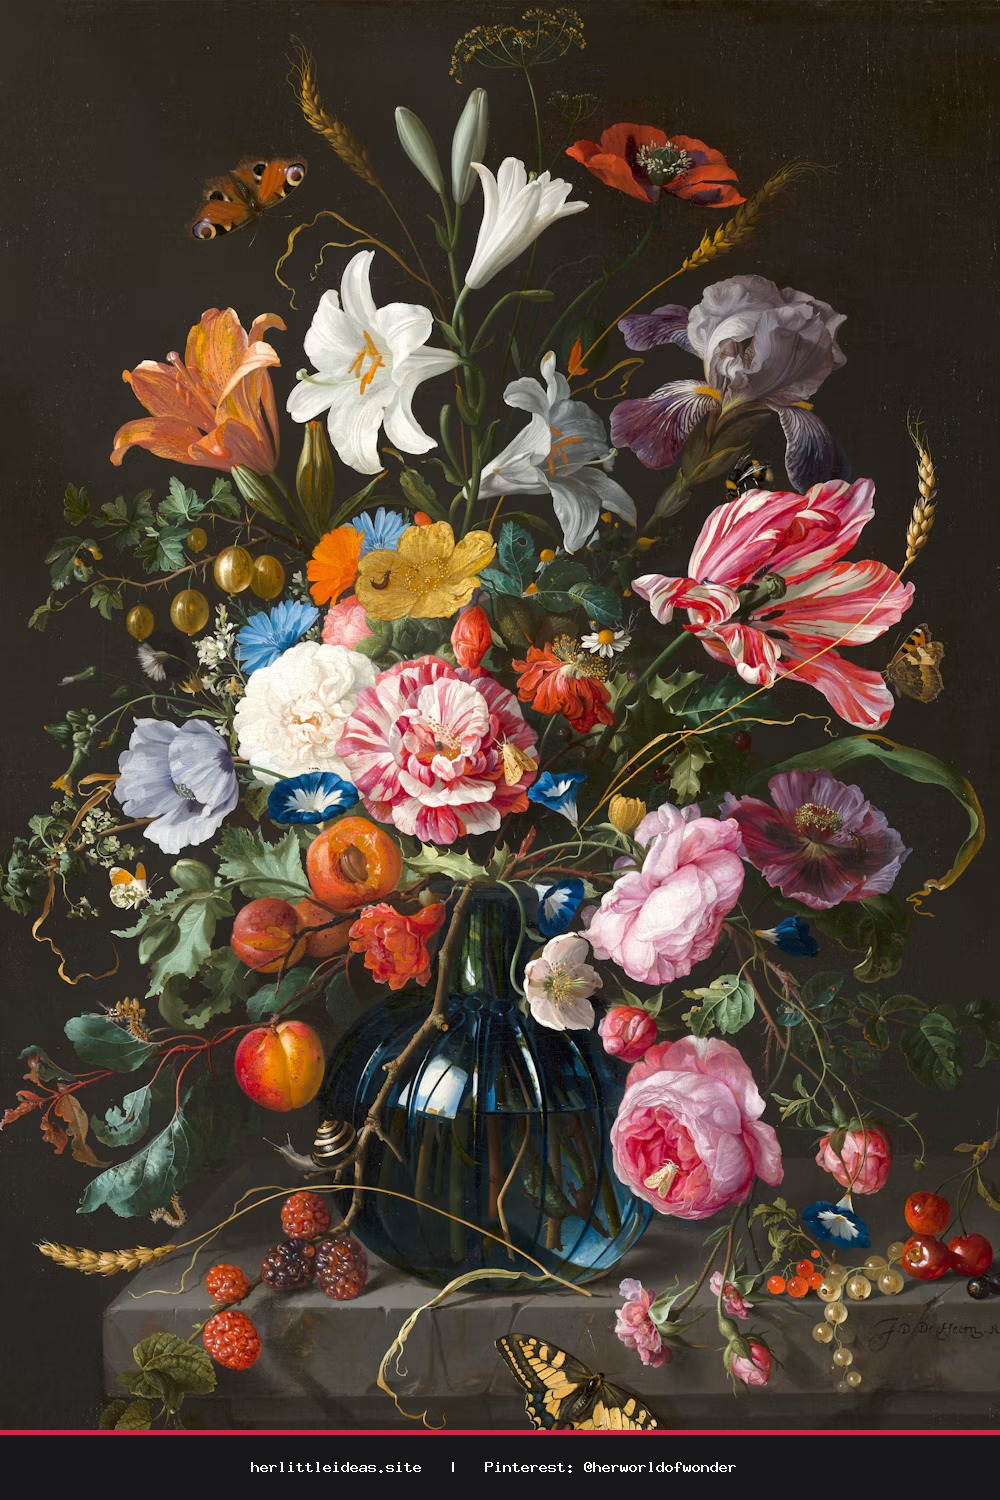
How to Make Pressed Flower Bookmarks: A Whimsical DIY Guide
Transform your favorite blooms into timeless treasures. Learn how to make pressed flower bookmarks for an aesthetic touch to your cozy reading nook.
Embrace the Art of Slow Living
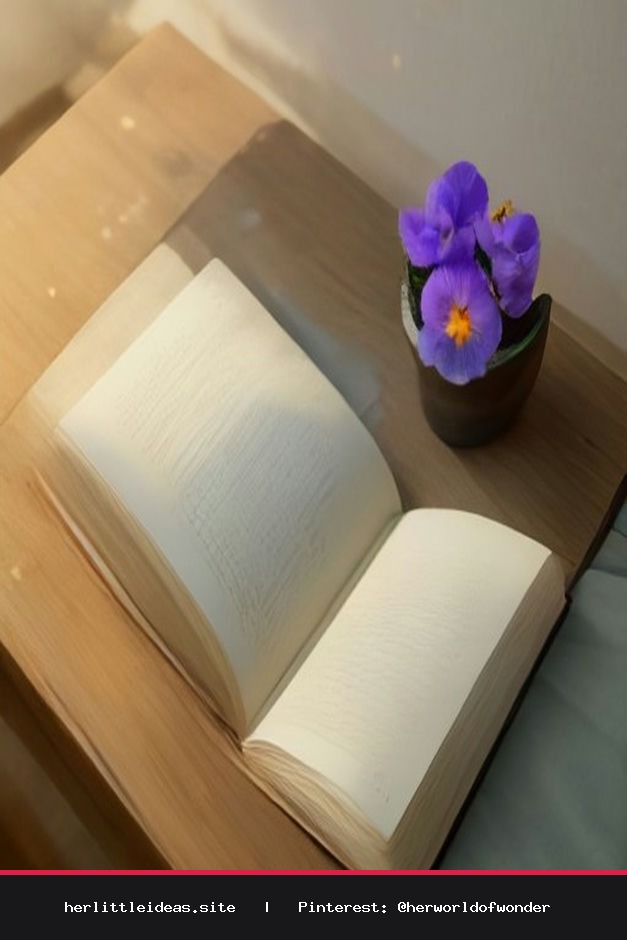
There is a quiet, rhythmic magic in slowing down to preserve the beauty of nature. As we navigate the busyness of daily life, finding small pockets of creativity can act as a grounding ritual. Learning how to make pressed flower bookmarks is more than just a craft; it is a gentle invitation to connect with the seasons and bring a touch of botanical elegance into your home. These delicate markers serve as the perfect companion for your morning coffee and a well-loved novel, turning every page turn into a moment of intentional beauty.
Gathering Your Botanical Treasures
Before you begin, take a mindful walk through your garden or a local meadow. Choose flowers that have a relatively flat profile—pansies, violas, small daisies, and ferns work beautifully. If you are harvesting from your own space, try to pick them in the morning after the dew has evaporated, ensuring they are fresh and vibrant. Remember, this process is about honoring the life cycle of the plant, so only take what you need.
Materials You Will Need
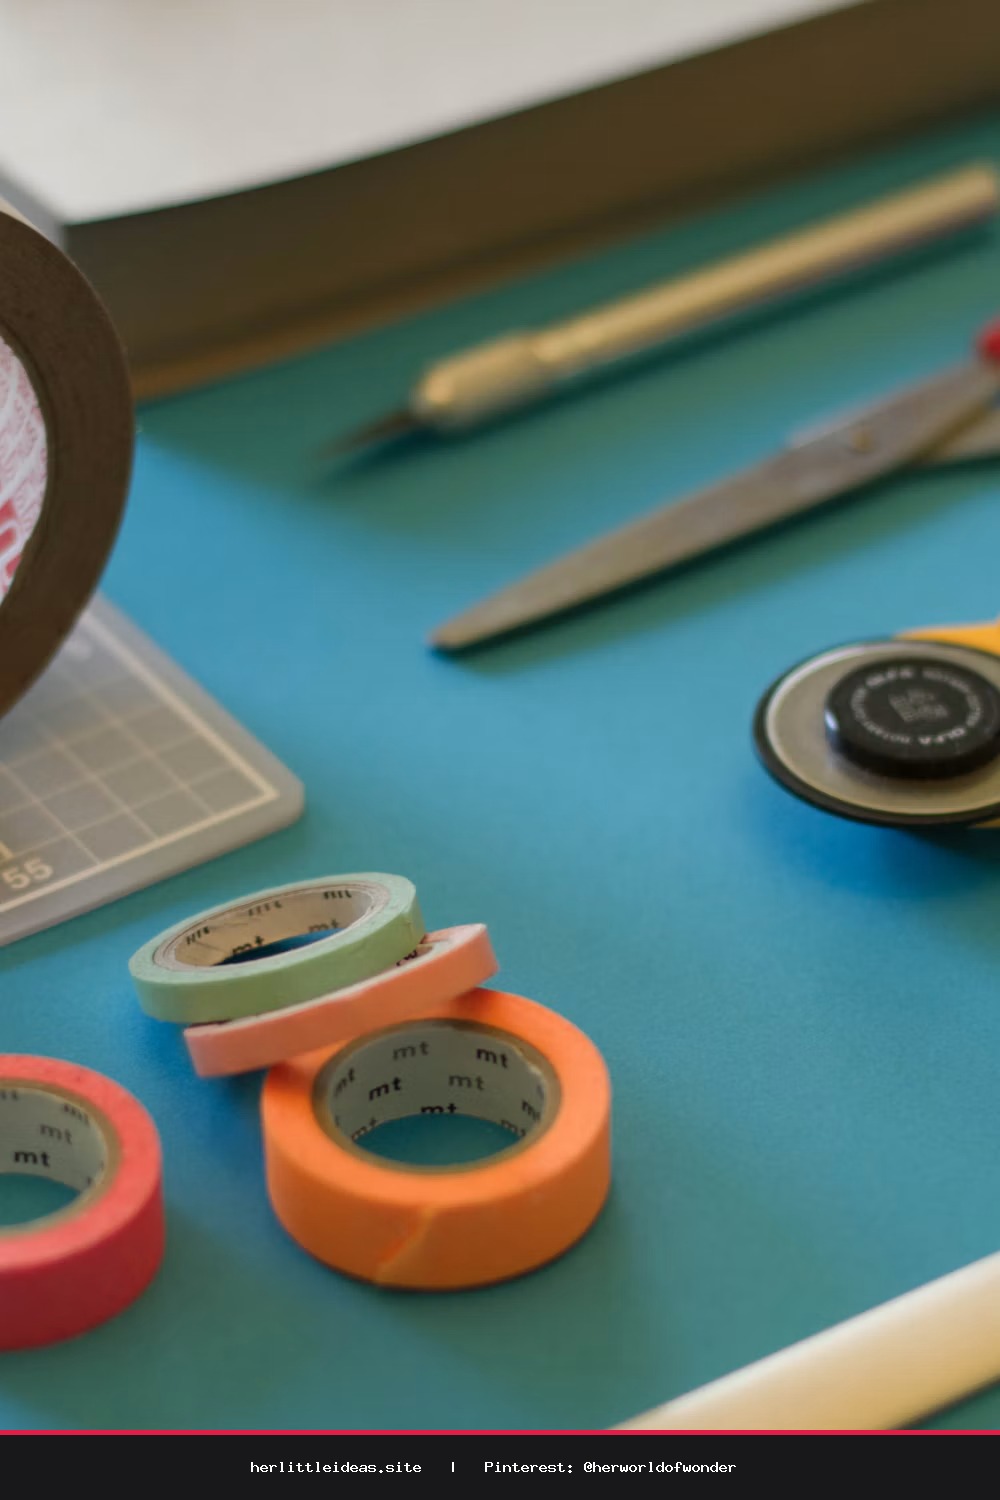
- Freshly pressed flowers: Dried for at least 7–10 days.
- High-quality cardstock: In creamy whites, soft kraft, or textured linen.
- Clear adhesive laminating sheets or decoupage glue: For preservation.
- Decorative twine or silk ribbon: To add a soft, tactile finish.
- A hole punch: For the final aesthetic touch.
- Scissors: Sharp ones for clean edges.
Step-by-Step: How to Make Pressed Flower Bookmarks
- Preparation: Ensure your flowers are completely dry. If they have moisture left, they will brown over time. Place them under a heavy book between layers of parchment paper for best results.
- Design Your Layout: Lay your cardstock strips flat. Arrange your dried blooms thoughtfully. You might prefer a minimalist single-flower look or a lush, wildflower meadow aesthetic.
- Seal the Beauty: Carefully peel back your laminating sheet and press it over the flowers, smoothing out any air bubbles with a credit card or a bone folder. If using decoupage glue, apply a thin, even layer over the flowers, allowing it to dry completely until clear.
- Refine the Edges: Trim the excess laminate or glue, leaving a clean, crisp border around your cardstock.
- The Finishing Touch: Punch a hole at the top center of your bookmark. Thread a piece of silk ribbon or rustic twine through, tying a simple knot to complete your botanical piece.
Styling Your Home Accents
Once your bookmarks are complete, they become more than just functional items—they are tiny pieces of art. Place them on your bedside table, tucked into a journal, or displayed on a wooden book stand as part of your home decor. To create a cohesive, cozy aesthetic, pair your bookmarks with neutral textures like linen throw blankets, dried eucalyptus bundles, and ceramic mugs. This craft is a beautiful reminder that home is not just a place, but a collection of the things that bring us peace and inspiration.
As you master how to make pressed flower bookmarks, you might find yourself wanting to gift them to friends or tuck them into cards. There is a deep, soul-soothing satisfaction in sharing something you have crafted with your own hands. Take your time, enjoy the process, and let your creativity bloom alongside your flowers.
DIY Pressed Flower Bookmarks: Whimsical & Aesthetic 🌸
Learn how to make pressed flower bookmarks with this easy DIY tutorial. Perfect for cozy reading, nature lovers, and aesthetic home decor. #DIYCrafts #PressedFlowers #Bookish #SlowLiving #AestheticHome