How to Make Pressed Flower Bookmarks: An Aesthetic DIY
Slow down your weekend with a mindful, budget-friendly botanical craft. Learn how to preserve delicate backyard blooms into timeless reading keepsakes.
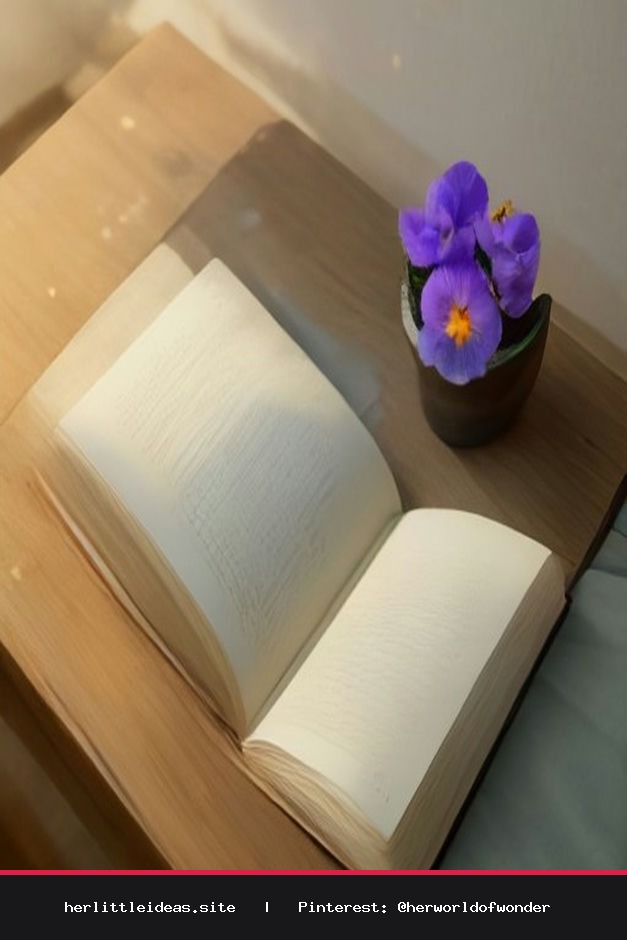
There is something deeply poetic about holding a sliver of summer between the yellowed pages of your favorite novel. In our fast-paced digital world, taking an afternoon to slow down and create something tangible with your hands is one of the gentlest forms of everyday self-care. If you are seeking a mindful, low-stress craft that costs next to nothing, learning how to make pressed flower bookmarks is an absolute delight.
The Gentle Charm of Botanical Bookmarks
Crafting with pressed botanicals connects us directly to the natural world. Whether you forage tiny clover blossoms on an afternoon neighborhood stroll, save petals from an anniversary bouquet, or gather delicate pansies from your porch planter, each bookmark preserves a quiet memory. Best of all, you do not need expensive resin equipment or complicated laminating machines to achieve a clean, ethereal finish. With a few basic household treasures, you can craft heirloom-worthy reading accessories in just one weekend.
Affordable Supplies You Will Need
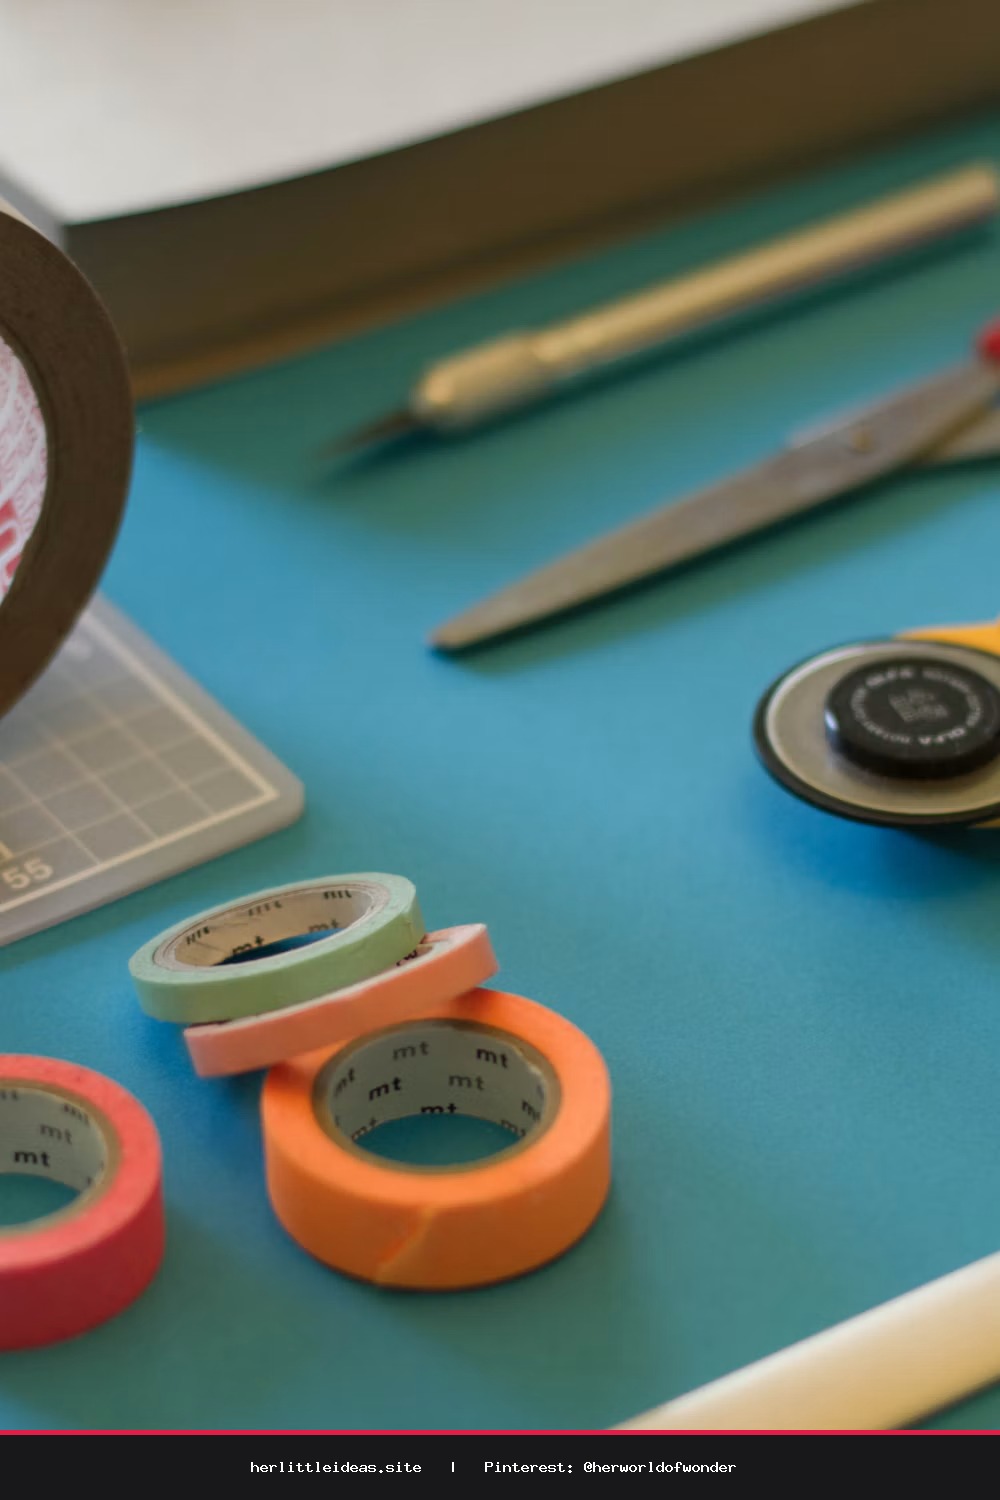
One of the best aspects of this creative project is its accessibility. You likely already have most of these supplies tucked away in your kitchen cabinets or desk drawers:
- Fresh flowers and foliage: Thin-petaled blooms like pansies, daisies, violas, cosmos, baby’s breath, and delicate fern fronds press the most seamlessly.
- Parchment paper and a heavy book: Classic telephone books, encyclopedias, or thick cookbooks work wonders for drying.
- Clear self-adhesive contact paper or cold laminate sheets: Available at dollar stores or stationery shops, these seal your flowers cleanly without heat.
- Cardstock or watercolor paper (optional): If you prefer a sturdy opaque backdrop rather than a transparent look.
- Precision scissors and craft tweezers: Essential for handling delicate dried petals without tearing.
- Single hole punch and textured ribbon: Velvet scraps, raw-edge silk, or natural jute twine add an effortless, tactile charm.
Step-by-Step: How to Make Pressed Flower Bookmarks
Step 1: Press and Dry Your Blooms
Begin by harvesting your flowers on a dry, sunny afternoon once the morning dew has completely evaporated. Excess moisture can cause petals to brown or mold during pressing. Line the pages of a heavy book with parchment paper, arrange your blooms flat face-down with gentle spacing, and close the book firmly. Stack a couple of heavy items on top and let them rest in a warm, dry room for 7 to 10 days until completely crisp and moisture-free.
Step 2: Plan Your Composition
Once dried, carefully lift the fragile botanicals using tweezers. Cut your clear contact paper or cardstock to your desired bookmark dimensions—traditional bookmarks measure roughly 2 inches wide by 6 inches tall. Before peeling any adhesive backing, arrange your floral composition on a scrap sheet of paper. Try minimalist vertical vines, symmetrical wildflower meadows, or a delicate scattering of loose daisy petals.
Step 3: Seal and Protect
Peel the backing from your clear adhesive contact paper. Carefully transfer your flowers onto the sticky surface, pressing down lightly with a fingertip. To seal, slowly smooth a second piece of clear contact paper directly over the top, starting from one edge and working outward with a ruler or plastic card to eliminate air bubbles. This simple technique locks in the color while protecting fragile stems from wear and tear.
Step 4: Trim and Add Tactile Details
Trim around the edges with scissors, leaving a tiny transparent border around the petals so the seal remains airtight. Punch a neat hole at the top center of your bookmark. Loop a strand of frayed chiffon ribbon, neutral baker’s twine, or muted velvet ribbon through the hole. Your bespoke botanical keepsake is finished!
Styling and Gifting Your Botanical Treasures
These translucent bookmarks catch the morning sun beautifully when tucked into a linen journal, bedside poetry book, or personal planner. They also make deeply thoughtful, heartfelt gifts. Slide one inside a thrifted vintage novel, tie it around a wrapped package with dried lavender sprigs, or create custom matching sets as handmade favors for tea parties and bridal showers. Crafting them is a soft reminder that beauty often resides in the quietest, simplest moments.
🌸 Easy DIY: How to Make Pressed Flower Bookmarks on a Budget
Bring nature indoors with this cozy weekend craft. Discover how to make pressed flower bookmarks using budget-friendly supplies and fresh blooms! #DIYCrafts #PressedFlowers #AestheticCrafts #BookTok