How to Make Pressed Flower Bookmarks for Cozy Evenings
Learn how to preserve delicate botanicals into timeless reading accessories. This gentle craft transforms quiet evenings into mindful moments of creativity.
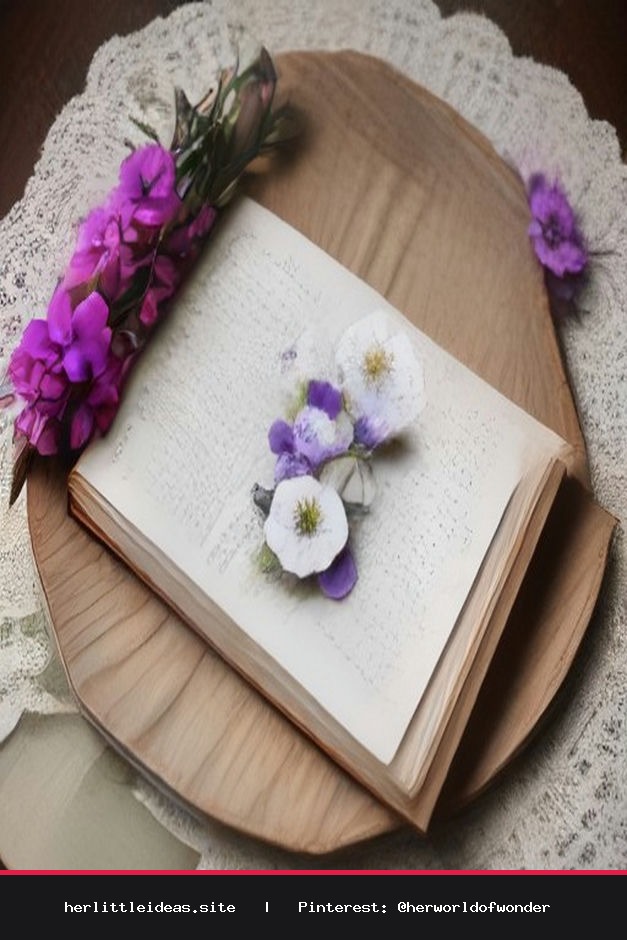
There is a quiet magic in gathering nature's smallest treasures and preserving them against the passage of time. As the daylight softens and the kettle begins to whistle, setting aside your digital devices to work with your hands offers an immediate sense of grounding. Learning how to make pressed flower bookmarks is one of the most accessible and soul-soothing crafts you can invite into your home. Whether you are tucking them inside your current bedside read or gifting them wrapped in raw silk ribbon, these botanical keepsakes capture the poetry of the garden in functional form.
The Calming Ritual of Gathering and Pressing
The journey of bookmark crafting begins long before scissors meet paper. Slowing down to forage in your backyard, local park, or even selecting delicate sprigs from a farmers market bouquet connects you deeply to the seasons. When choosing flora for pressing, prioritize naturally flatter blooms and foliage with low moisture content.
- Pansies and Violas: Naturally flat petals that retain rich purples, yellows, and deep blues.
- Baby's Breath (Gypsophila): Adds an airy, celestial texture to any layout.
- Fern Fronds and Herbs: Offer crisp architectural green lines; thyme and dill sprigs work wonderfully.
- Pressed Hydrangea Florets: Delicate and translucent, providing soft pastel watercolor effects.
- Clover Blossoms and Miniature Daisies: Evoke an innocent, meadow-like charm.
To press them, place your botanicals between sheets of parchment paper inside a heavy wooden flower press or nestled among the center pages of an antique dictionary weighted with a cast iron pot. Allow them to dry undisturbed in a warm, dry room for 7 to 10 days until completely crisp to the touch.
Essential Materials for Your Crafting Nook
Before you begin your creative session, clear a clutter-free table, light a beeswax candle, and prepare your supplies. Having everything within reach allows your crafting flow to remain uninterrupted and deeply meditative.
- Dried and pressed botanical specimens
- Heavyweight cardstock (warm ivory, linen textured, or watercolor paper)
- Fine-point craft tweezers
- Clear self-adhesive laminating sheets or cold-laminate pouches
- Precision craft scissors or a paper trimmer
- Water-based craft glue or a glue pen
- Hole punch (single 1/8-inch or standard size)
- Silk sari ribbon, thin velvet cord, or raw linen twine
Step-by-Step: How to Make Pressed Flower Bookmarks
Follow these mindful steps to transform fragile pressed petals into durable, water-resistant reading companions.
Step 1: Prepare the Paper Foundation
Begin by cutting your heavyweight watercolor paper or cardstock into rectangular strips. A classic, pleasing proportion is 2 inches wide by 6 inches long (5 cm x 15 cm). If you prefer an organic, antique look, gently tear the edges along a metal ruler instead of cutting with scissors to achieve a soft deckled edge.
Step 2: Compose Your Botanical Layout
Using your fine-point craft tweezers, gently lift your dried petals and arrange them onto the cardstock strip. Treat this as an exercise in stillness. You might design a vertical meadow scene with greenery anchored at the bottom, or create a minimalist cascade drifting diagonally down the bookmark. Once satisfied with the layout, use a minute pinhead dot of craft glue beneath each petal to secure it lightly in place. Let the glue set for 5 minutes.
Step 3: Seal and Protect the Flora
To ensure your delicate flowers withstand years of reading, seal them under clear laminating film. Cold self-adhesive laminating sheets are ideal because they protect fragile blossoms without applying intense heat, which can occasionally brown delicate whites and pinks. Peel back the protective paper backing slowly, smoothing the clear film over your cardstock from top to bottom with a bone folder or credit card to eliminate trapped air bubbles.
Step 4: Trim and Punch
Trim the excess clear film with precision scissors, leaving a tiny 1-millimeter border around the cardstock to maintain a moisture-proof seal. Use your punch to create a neat hole centered approximately one-quarter inch from the top edge.
Step 5: Finish with Earthy Textiles
Thread a 6-inch length of frayed raw-edge silk ribbon, natural jute, or soft velvet through the hole. Tie a gentle slip knot, allowing the ribbon tails to drape elegantly over the pages of your favorite novel.
Gentle Tips for Enduring Beauty
Botanicals naturally evolve as time passes. To keep your handcrafted bookmarks vibrant, store finished pieces away from direct, harsh sunlight when not resting inside a book. The gentle fade of botanical pigments over years is not an imperfection—it is a graceful reminder of the passage of time and the natural world we cherish.
How to Make Pressed Flower Bookmarks 🌸 Cozy DIY Craft
Learn how to make pressed flower bookmarks with dried meadow florals, vintage paper, and silk ribbon. A cozy, mindful craft tutorial for book lovers. #pressedflowers #diybookmarks #crafttutorial #cottagecorecrafts #slowliving