How to Make Pressed Flower Bookmarks: Cozy Weekend DIY
Learn how to make pressed flower bookmarks for lovely homemade gifts. A slow, restorative weekend craft to celebrate nature's fleeting beauty.
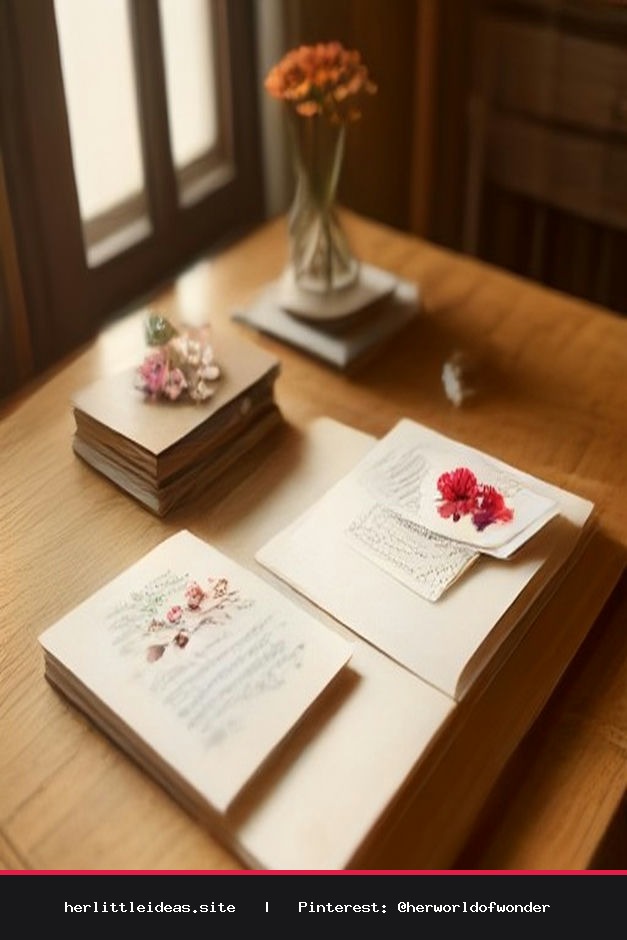
There is a quiet, poetic joy in preserving a petal at its peak. When the weekend arrives and you crave a slow afternoon away from glowing screens, gathering botanicals and creating handmade keepsakes offers an instant sense of grounded calm. Learning how to make pressed flower bookmarks is more than just a creative exercise; it is an act of mindfulness that transforms fragile blossoms into timeless mementos you can tuck inside your favorite novels or share with loved ones.
The Intentional Craft: Why Pressed Flowers?
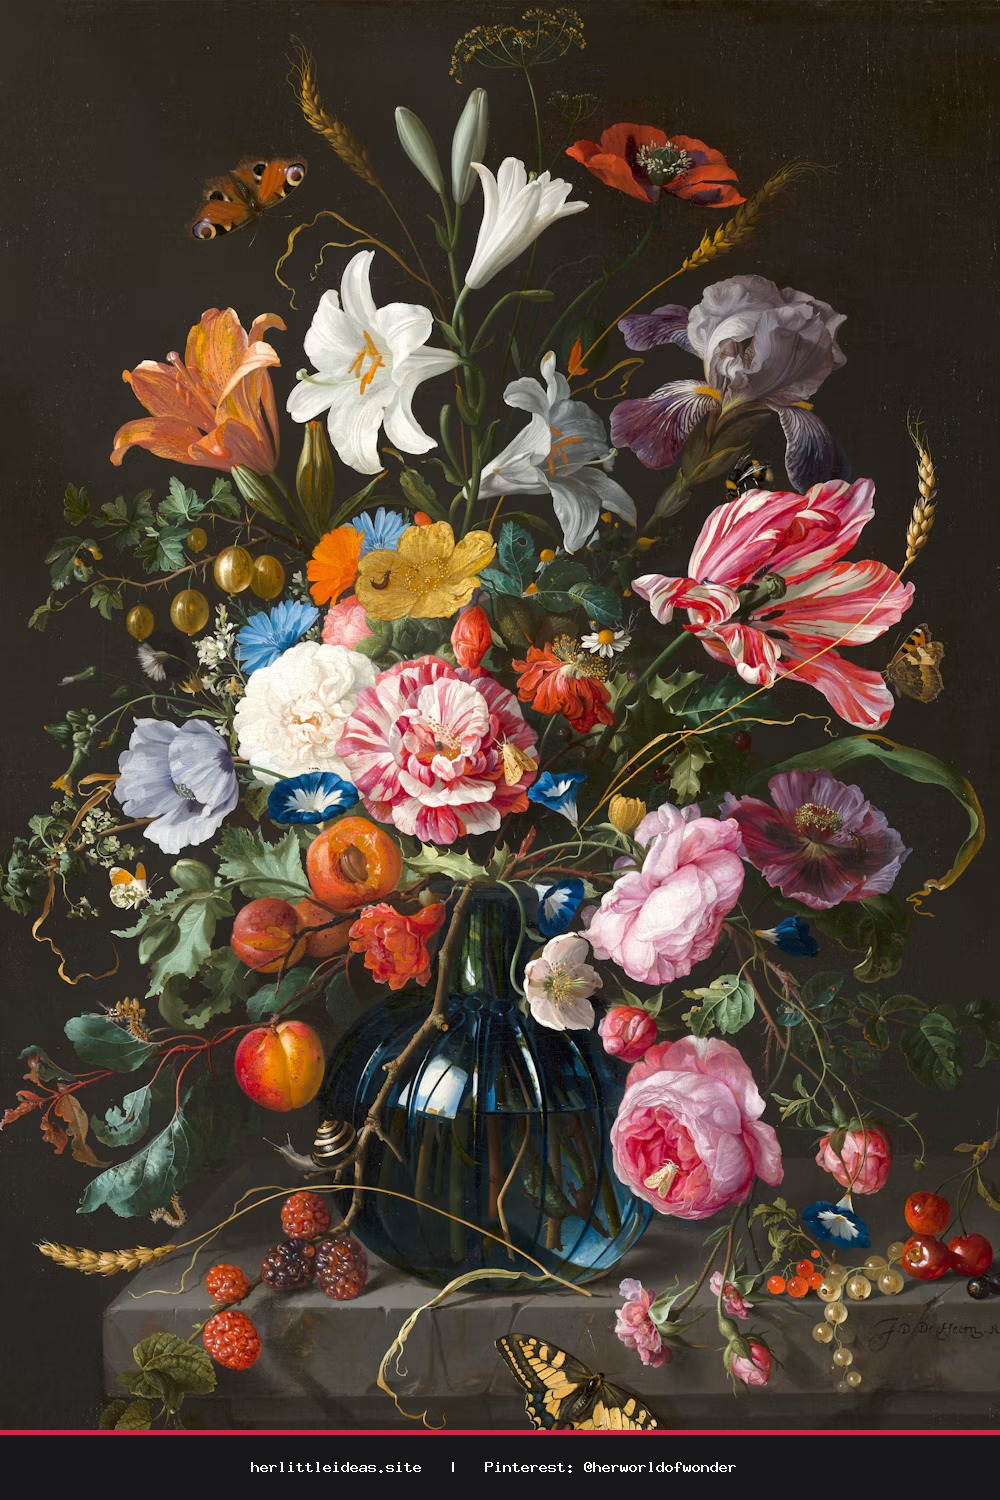
Botanical crafting connects us naturally to the seasons. A delicate buttercup gathered on a morning walk, a sprig of lavender from your herb patch, or miniature violas from a market bouquet can all be pressed into flat, delicate treasures. When turned into personalized bookmarks, these natural elements become meaningful, literary tokens that remind the reader to pause, breathe, and savor the story in front of them.
Materials You Will Need
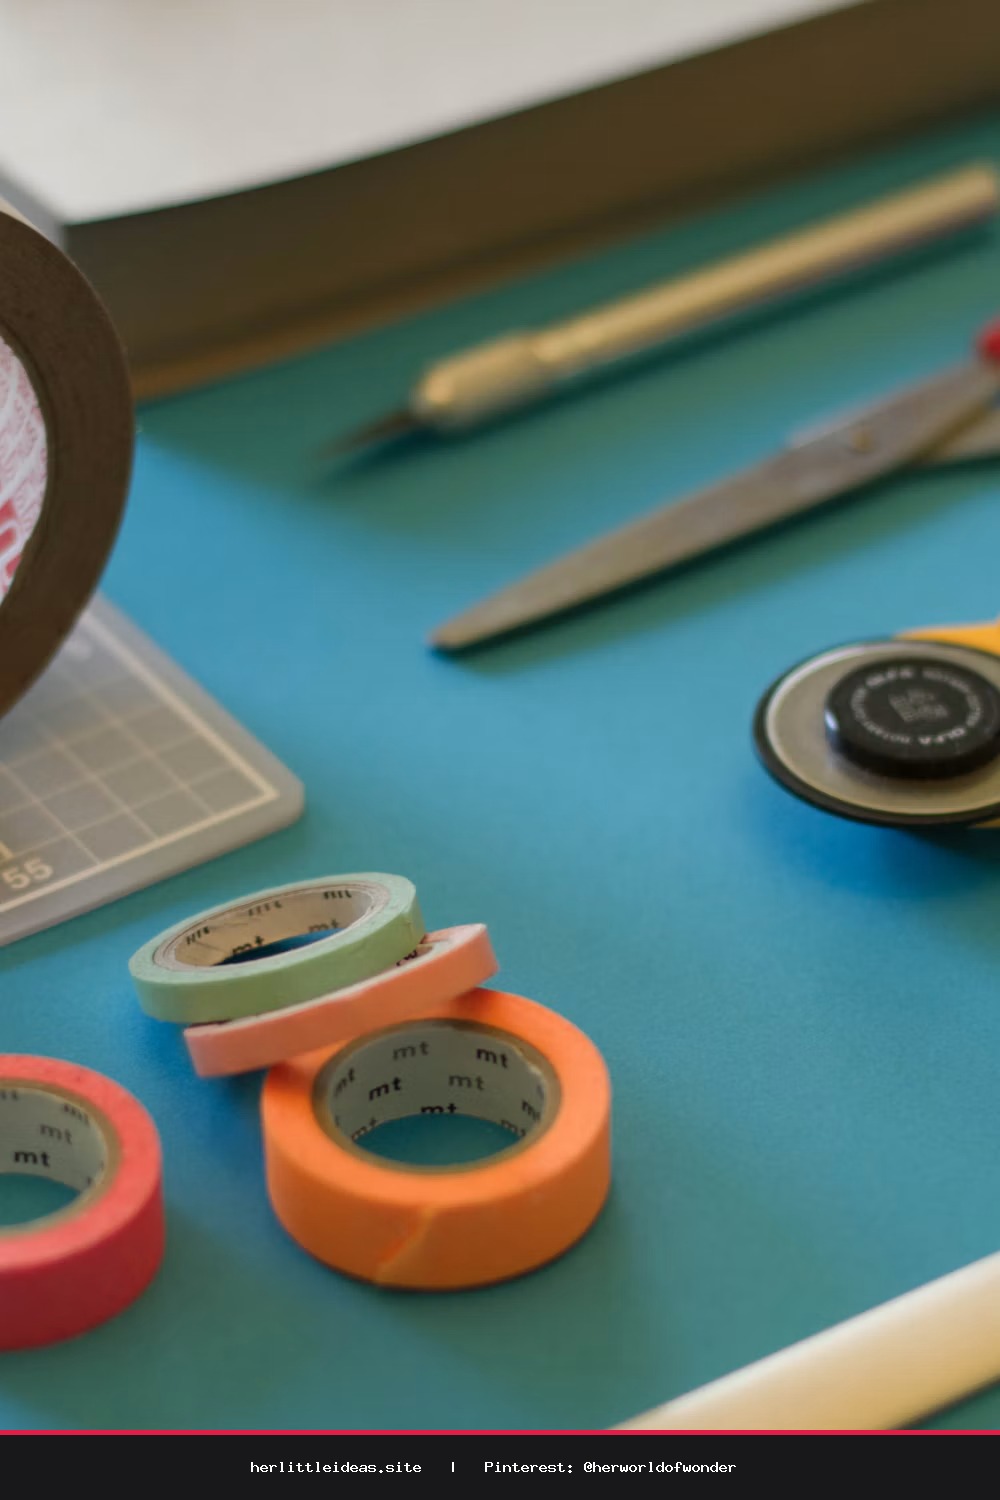
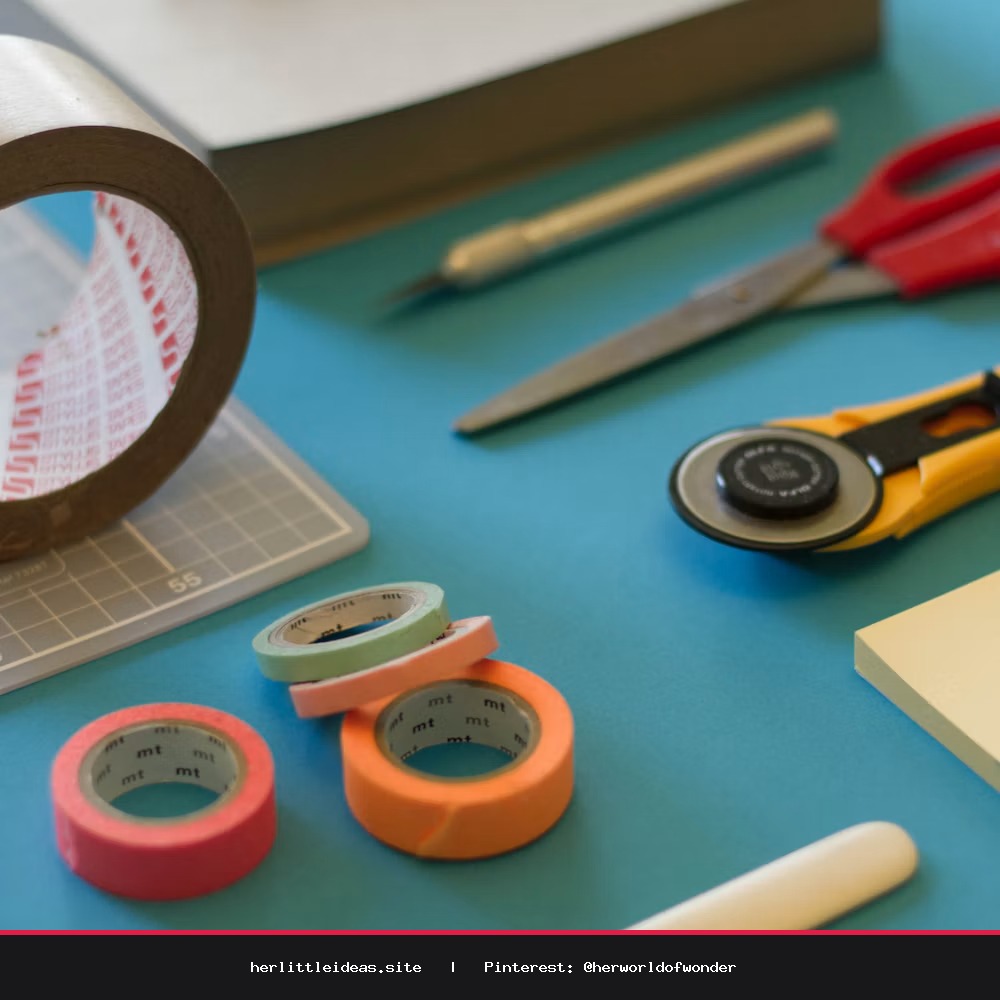
Before beginning, arrange your workspace with soft lighting, a warm cup of herbal tea, and your crafting essentials. Keeping things tidy and organized allows the process to feel soothing rather than chaotic.
- Pressed botanicals: Pansies, forget-me-nots, Queen Anne's lace, fern fronds, or rose petals work wonderfully.
- Base paper: 300gsm watercolor paper, deckled-edge cotton rag paper, or heavy cream cardstock.
- Tweezers: Fine-tip craft tweezers to gently manipulate brittle petals.
- Adhesive: Clear craft glue or acid-free glue stick, applied sparingly with a fine paintbrush.
- Protective layer: Cold-seal laminating sheets, clear contact paper, or matte decoupage sealer.
- Finishing accents: A single-hole punch, natural twine, or frayed raw-edge silk ribbon.
Step-by-Step: How to Make Pressed Flower Bookmarks
Step 1: Pressing Your Blooms
If you are pressing fresh blossoms, select small, relatively flat varieties. Lay them face down between sheets of parchment paper nestled inside a heavy hardcover encyclopedia or traditional wooden press. Allow them to dry undisturbed in a warm, dry spot for 7 to 10 days. The petals should feel completely papery and moisture-free before use.
Step 2: Preparing the Canvas
Cut your watercolor paper or cardstock to classic bookmark dimensions, typically around 2 inches wide by 6 to 7 inches long. For a romantic, vintage touch, you can lightly tear the borders against a metal ruler to achieve a soft deckled edge. Alternatively, smooth clean cuts with a rotary trimmer offer a minimalist, modern aesthetic.
Step 3: Designing the Arrangement
Using your fine-tip tweezers, arrange your dried petals on the blank bookmark without glue first. Experiment with vertical cascades, botanical vignettes, or single minimalist stems rising from the bottom. Think about negative space; allowing the textured paper to breathe around the petals creates an organic, airy composition.
Step 4: Securing and Protecting
Once you are happy with the arrangement, place tiny pinprick dots of glue behind the thickest part of each bloom or leaf to hold it in position. To preserve the bookmark against reading wear and tear, sandwich the paper gently between cold-seal clear laminating film, smoothing out any air bubbles from the center outward with a bone folder or soft cloth. Trim the laminate closely, leaving a 1/8-inch sealed perimeter to keep moisture out.
Step 5: The Personalized Finishing Flourish
Punch a single hole centered at the top of your bookmark. Thread through a length of hand-torn silk ribbon, vintage lace, or organic jute twine. For a thoughtful personalized gift, use a fine calligraphy pen to write the recipient's initials, a favorite literary quote, or the date along the reverse side before laminating.
Styling and Gifting Ideas
A handmade bookmark is a quiet gesture that speaks volumes. To assemble a cozy gift parcel for a fellow book lover, pair your pressed botanical bookmark with:
- A secondhand edition of a beloved classic novel wrapped in brown butcher paper.
- A tin of loose-leaf chamomile or Earl Grey tea.
- A handwritten note detailing where the blossoms were harvested.
By blending gentle intention with practical craft, you create something that endures long after the flowers in the garden have faded. Enjoy the peaceful cadence of pressing, arranging, and gifting these tiny pieces of nature.
DIY Pressed Flower Bookmarks 🌸 Aesthetic Weekend Craft & Gift Idea
Learn how to make pressed flower bookmarks with this simple, aesthetic tutorial. Perfect for cozy weekend crafting, mindful gifting, and preserving botanical memories. #pressedflowers #diybookmarks #aestheticcrafts #botanicalart