Pressed Flower Bookmarks: Quick 30-Minute Aesthetic Craft
Learn how to make pressed flower bookmarks in just thirty minutes. Transform delicate garden petals into timeless, aesthetic reading treasures.

There is a quiet romance in slipping a handmade botanical marker between the pages of an antique novel or your favorite evening journal. When the weekend arrives and you find yourself craving a peaceful, creative pause, crafting pressed botanicals is one of the most rewarding ways to unwind. If you have ever wondered how to make pressed flower bookmarks without spending hours on messy setups or complicated tools, this gentle weekend guide is designed just for you. In less than half an hour, you can transform simple garden blooms into practical keepsakes that honor the slower rhythms of everyday life.
Gathering Your Botanical Materials
The beauty of this project lies in its simplicity. You do not need expensive specialized equipment to yield ethereal, gallery-worthy results. Most of these elements can be sourced from your own garden, a local florist, or your everyday craft drawer.
- Pressed Botanicals: Flat, delicate specimens work best. Violas, miniature pansies, baby’s breath, pressed chamomile, delicate ferns, and single petals from ranunculus or hydrangeas create striking silhouettes.
- Self-Adhesive Laminating Sheets: Clear, cold-seal contact paper or thermal laminating pouches provide a crystal-clear, durable finish without wrinkling fragile foliage.
- Heavyweight Paper (Optional): If you prefer an opaque background, choose cream linen cardstock or deckle-edge watercolor paper cut into 2-by-6-inch strips.
- Fine-Tip Tweezers: Essential for maneuvering gossamer stems and petals without tearing them.
- Single Hole Punch & Ribbon: Raw-edge chiffon silk ribbon, neutral hemp cord, or soft velvet trims add a warm, tactile flourish to the top of your bookmark.
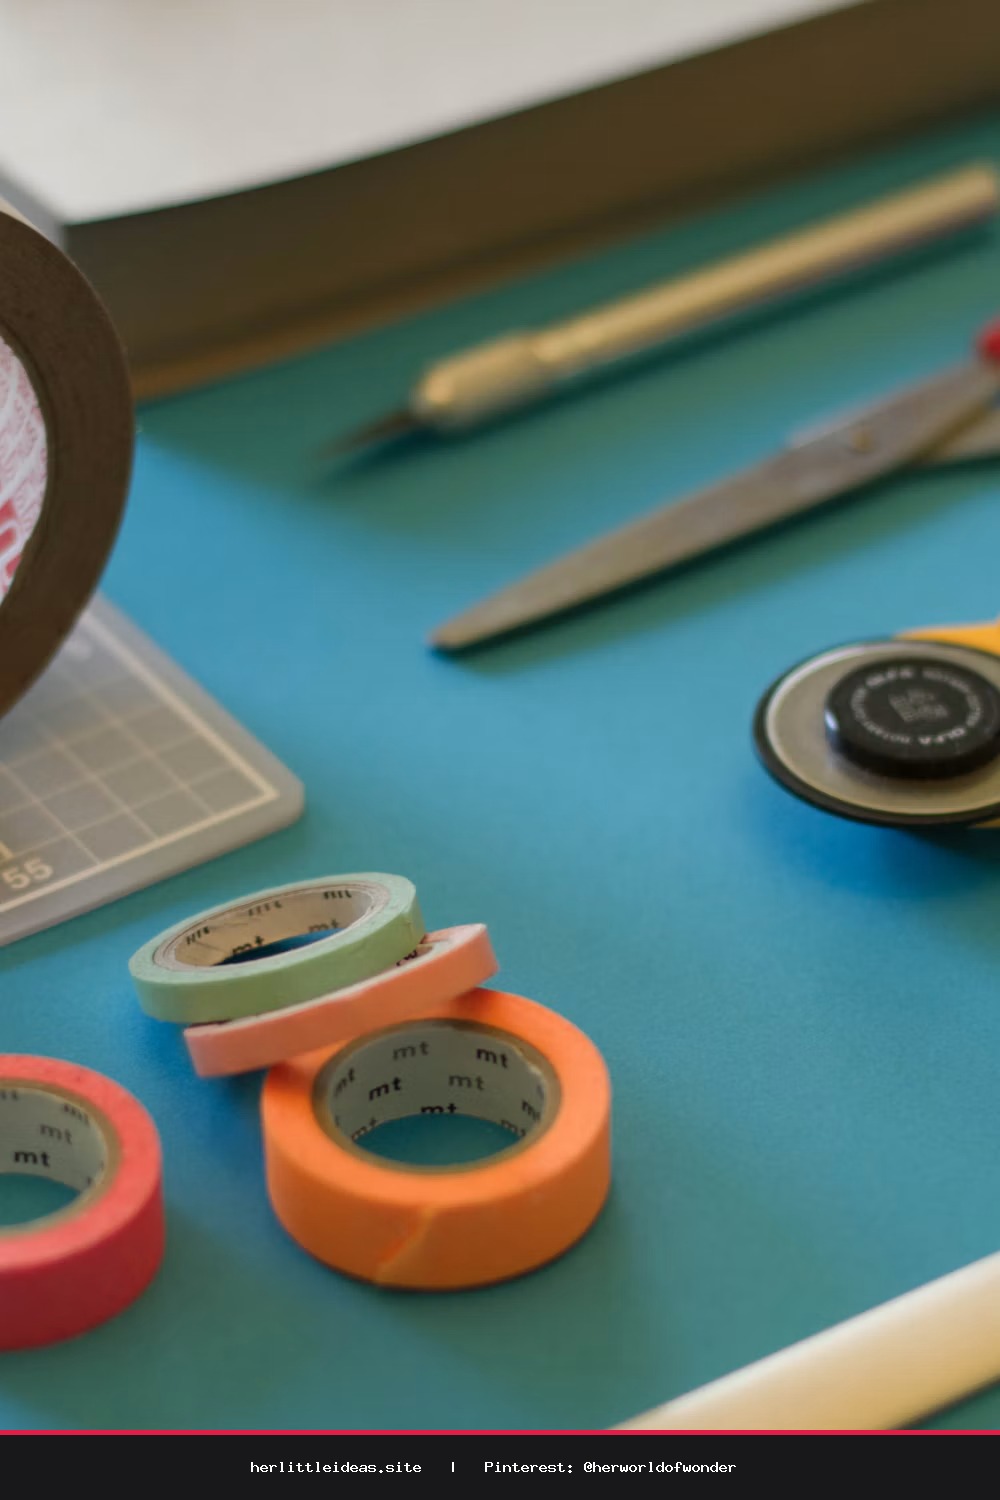
- Craft Scissors or Paper Trimmer: For clean, crisp edges.
Step-by-Step: How to Make Pressed Flower Bookmarks
Set a gentle atmosphere before you begin. Light a beeswax candle, brew a pot of loose-leaf herbal tea, and clear a sunlit corner of your wooden table. Giving yourself thirty mindful minutes allows the process to feel like restorative self-care rather than just a weekend chore.
Step 1: Prep Your Design Space
Begin by cutting your transparent sheets or cardstock into bookmark-sized strips. A classic, pleasing dimension is approximately 2 inches wide by 6 inches long. If you are using clear adhesive film, cut two identical pieces slightly larger than your intended final size so you have plenty of room to trim clean margins later.
Step 2: Mindfully Arrange the Flowers
Peel back the protective backing from one adhesive sheet, laying it flat on your workspace with the sticky side facing up. Using your fine tweezers, begin curating your botanical layout. Consider playing with asymmetric arrangements—a climbing branch of green fern fronds anchored by two cheerful buttercup blossoms, or an intentional scatter of lavender sprigs floating like dried constellations.
Gently press each blossom down with your fingertip to ensure it adheres smoothly. Because dried petals can be brittle, take your time and handle each piece tenderly.
Step 3: Seal and Burnish
Once you are enchanted by your composition, carefully lay the second adhesive sheet over the top, beginning at one short end and slowly rolling it downward. Use the smooth edge of a bone folder, ruler, or credit card to press out any tiny air pockets. Work from the center outward to create a flawless, glass-like seal around every botanical contour.
Step 4: Trim and Add the Finishing Ribbon
Using your paper trimmer or sharp scissors, cut along the perimeter, leaving a neat, even clear border around your flowers. Using a small handheld hole punch, make a clean opening at the top center of your bookmark. Thread through a length of frayed silk ribbon or earth-toned linen twine, tying a simple knot to secure it in place.
Aesthetic Styling & Thoughtful Gifting
These petite works of art lend themselves beautifully to home styling. Tuck one inside a cookbook placed on a kitchen easel, slip one into a cozy bedtime reading basket, or use them as personalized place cards for an intimate weekend brunch. Paired with a second-hand hardcover book and a tin of loose tea, they make one of the most heartfelt, thoughtful gifts you can share with a kindred spirit.
Caring for Your Dried Flower Treasures
Natural botanicals possess an organic life cycle. While sealing your flowers shields them from moisture and physical friction, natural sunlight will slowly soften their colors into dreamy, vintage tones over time. To preserve their vivid hues for as long as possible, store your finished pieces between the pages of your favorite books when they are not in use, away from prolonged exposure to direct, harsh UV rays.
DIY Pressed Flower Bookmarks in 30 Minutes 🌸✨
Learn how to make pressed flower bookmarks in under 30 minutes! A dreamy, beginner-friendly botanical craft to elevate your cozy reading routine. #pressedflowers #diycrafts #bookishaesthetic #cottagecore